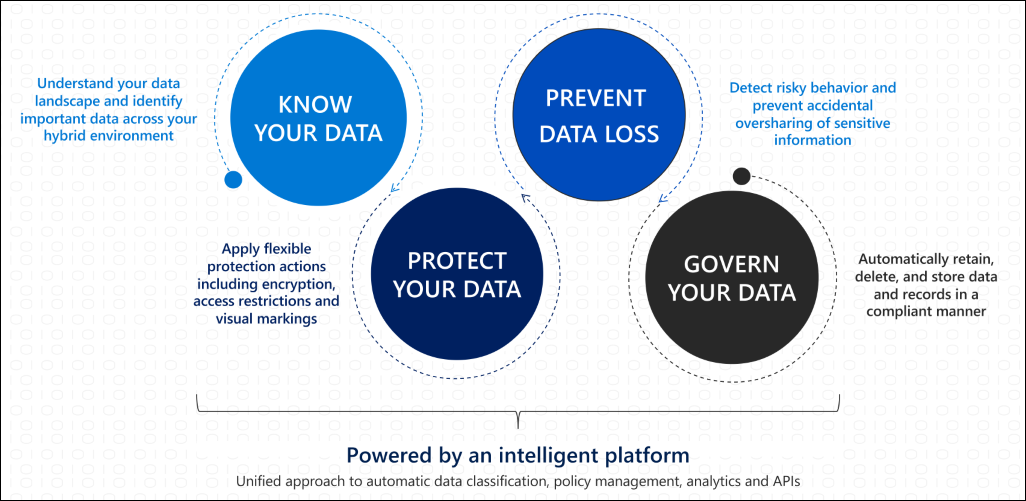
Introduction:
As we know from the previous document that Azure Information Protection (AIP) is a comprehensive solution offered by Microsoft for classifying, labeling, and protecting sensitive information. As organizations increasingly rely on AIP to safeguard their data, it becomes imperative to ensure a positive user experience. This post explores the user experience within AIP & DLP, identifying key areas for improvement and strategies to enhance usability and satisfaction.
Key Aspect of User Experience in Azure Information Protection:
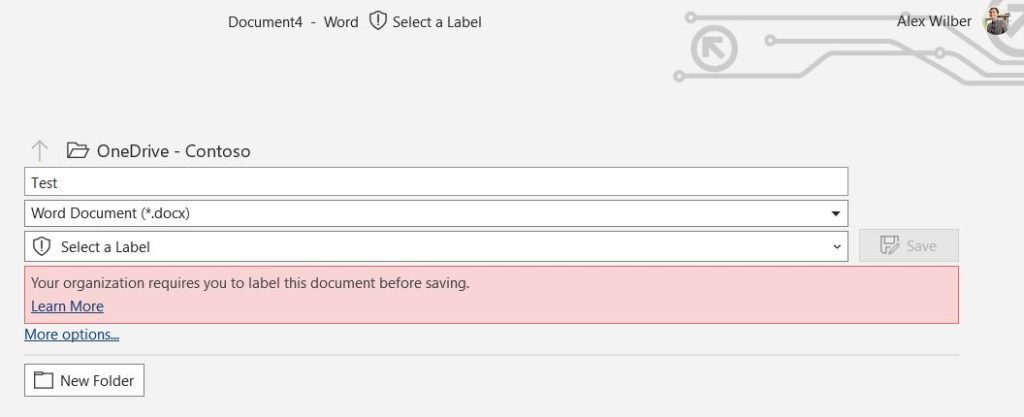
Integration with Productivity Tools. AIP should seamlessly integrate with popular productivity tools such as Microsoft Office Suite, SharePoint, and Outlook. Integration allows users to apply classification and protection policies directly within familiar applications, minimizing disruption to their workflow. Ensuring compatibility and consistency across platforms enhances usability and encourages widespread adoption.
The basic flow for working with AIP classification is as follow:

Some of the user cases scenarios:
- Testing sending mail from Internal to Externa. In here DLP that block the user to send email outside the organization and the mail did not send as you can see


- Test block highly sensitive data from being shared. In here I put a protected document and tried to send it and the mail did not send as you can see.


DLP detect data based on keyword.
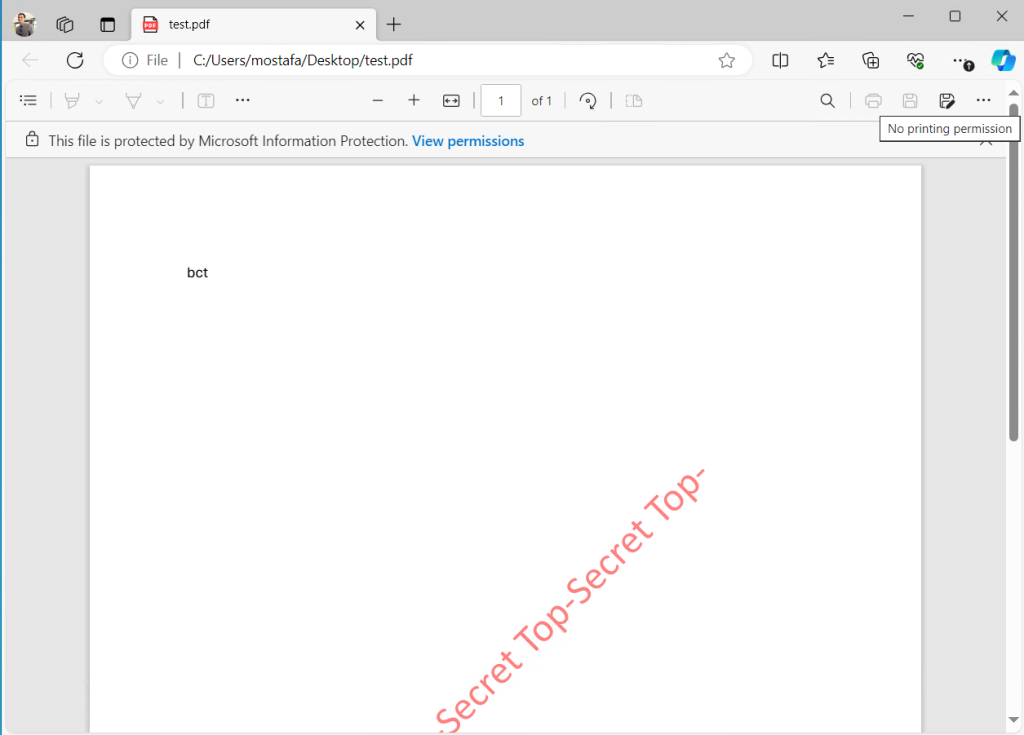
There is a DLP based on keyword for example I put (BCT &bluecloud) in my DLP and whenever any user send a text message include those keyword it will be blocked immediately. Also if there is a keyword in a PDF file this file will be protected as you can see in the blow image and one of the DLP policy that block printing of this file

- Apply Data sensitivity label on SharePoint online
Any new files uploaded to that library, or existing files edited in the library will have that label applied if they don’t already have a sensitivity label, or they have a sensitivity label but with lower priority. Keep in mind it doesn’t apply to existing files at rest in SharePoint.
For an existing document library:
- In SharePoint, navigate to the document library > Settings > Library settings.
- From the Library settings flyout pane, select Default sensitivity labels, and then select a label from the drop-down box. For example:

When creating a new document library
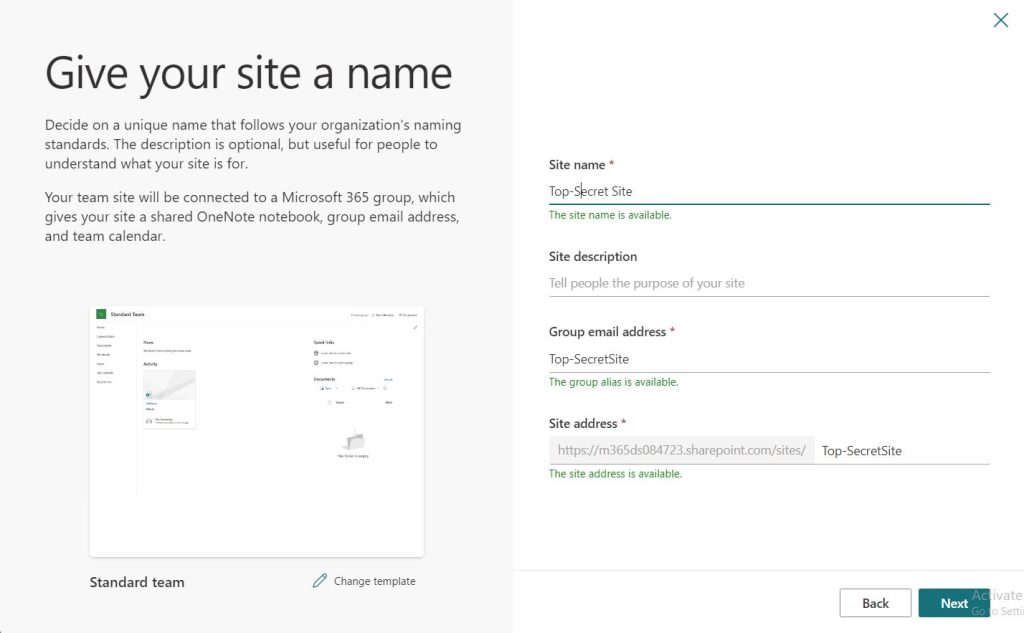
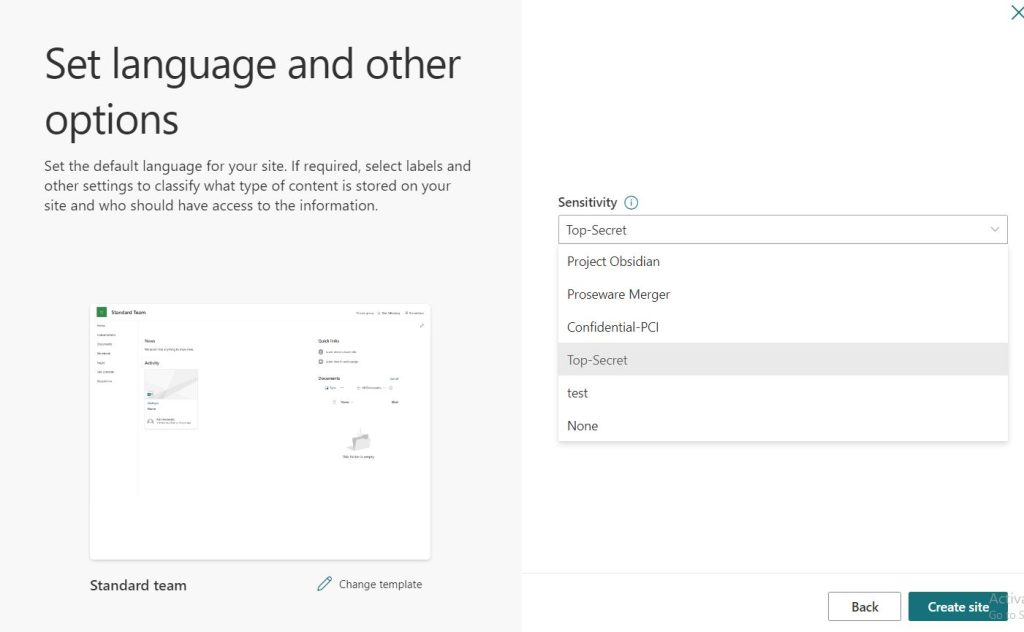
When you use Office on the web to create or edit a file, the default sensitivity label for a document library can be applied without delays. However, labeling is not immediate if you upload a file or create it using Microsoft 365 Apps on Windows, macOS, iOS or Android, and then save to SharePoint:
- File upload: it can take a few minutes for the label to be applied.
- Microsoft 365 Apps: the label is applied after the app is closed.
AIP labels as well when assigned or applied to SharePoint Site, it can control the following aspects:
- Privacy and external user access settings
- External sharing and Conditional Access settings
Verify compatibility with different devices like iOS any protected file will still be remain protected however the user tried to opened it throw the device.

And here we will look at a small comparison on (AIP) which offers both an “installed client application” and “built-in features within Microsoft Office applications” for classifying, labeling, and protecting sensitive information. This comparison aims to evaluate the differences and benefits of each approach to assist organizations in choosing the most suitable option based on their requirements and user preferences.
| Azure Information Protection Installed Client | Built-in Features within Microsoft Office |
| The AIP installed client is a separate application that provides comprehensive functionality for data classification, labeling, and protection. | AIP features are integrated directly into Microsoft Office applications, such as Word, Excel, PowerPoint, and Outlook, providing a seamless user experience. |
| The installed client offers advanced features such as custom policy creation, centralized policy management, and reporting capabilities. | Users can classify, label, and protect documents and emails without switching between different applications, streamlining workflow, and enhancing productivity. |
| Users can leverage the AIP client to classify and protect files across various third-party applications. | Built-in features offer basic classification and protection capabilities, they may lack advanced functionalities available in the standalone AIP client. |
Conclusion:
By following the guidelines outlined in this document, end-users can effectively utilize Azure Information Protection to classify, label, and protect sensitive information in accordance with organizational policies and regulatory requirements. By fostering a culture of security awareness and adherence to best practices, organizations can mitigate the risk of data breaches and safeguard their valuable assets effectively.
Mostafa Ashraf
System Engineer

