In the era of digital transformation & cloud adoption, Data Security is a vital key for business. Data security solutions refer to a set of technologies, processes, and practices designed to protect digital data from unauthorized access, use, disclosure, modification, or destruction. These solutions encompass various tools such as encryption, access controls, authentication. One of these solutions is AIP & DLP.
Azure Information Protection (AIP) is a cloud-based solution that can help organizations to protect sensitive information by classifying and (optionally) encrypting documents and emails on Windows, Mac, and Mobile devices.
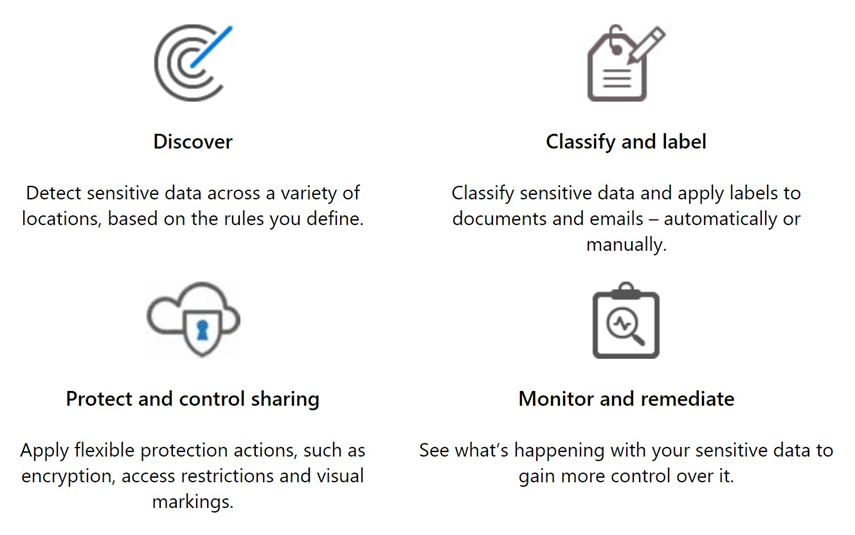
In the context of Azure Information Protection (AIP), protection and classification are crucial components for securing sensitive data within organizations. Here’s an overview of each:
Classification: Classification involves labeling data according to its sensitivity level or importance. This labeling helps users and systems understand how to handle the data appropriately. Classification can be based on various factors such as regulatory requirements, organizational policies, or the nature of the data itself.
- Manual Classification: Users may manually apply classifications to documents or files based on their understanding of the content.
- Automatic Classification: Organizations can also implement automatic classification mechanisms that analyze data content and apply classifications based on predefined rules or machine learning algorithms.
Protection: Protection refers to the enforcement of security controls to safeguard sensitive data from unauthorized access, disclosure, or modification. Protection mechanisms typically include encryption, access controls and rights management.
- Encryption: Data encryption ensures that even if unauthorized users gain access to the data, they cannot read it without the appropriate decryption key.
- Access Controls: Access controls regulate who can view, edit, or share data.
- Rights Management: Rights management technologies enable organizations to specify and enforce policies regarding how data can be used. For example, restricting printing, copying, or forwarding of sensitive documents.
If you’re using Azure Information Protection (AIP) in your organization, you’ll know that once a document has been assigned an AIP label, it is stored in clear text as a document property called Sensitivity. This is visible backstage of the Office client in Advanced Properties. What’s great about this is it allows the label to be leveraged in other applications simply by reading the document property.
An example of an application that can leverage this property is Data Loss Prevention (DLP). We can configure DLP rules based on AIP labels as an added level of protection for documents. This is what I’ll demonstrate in this post.
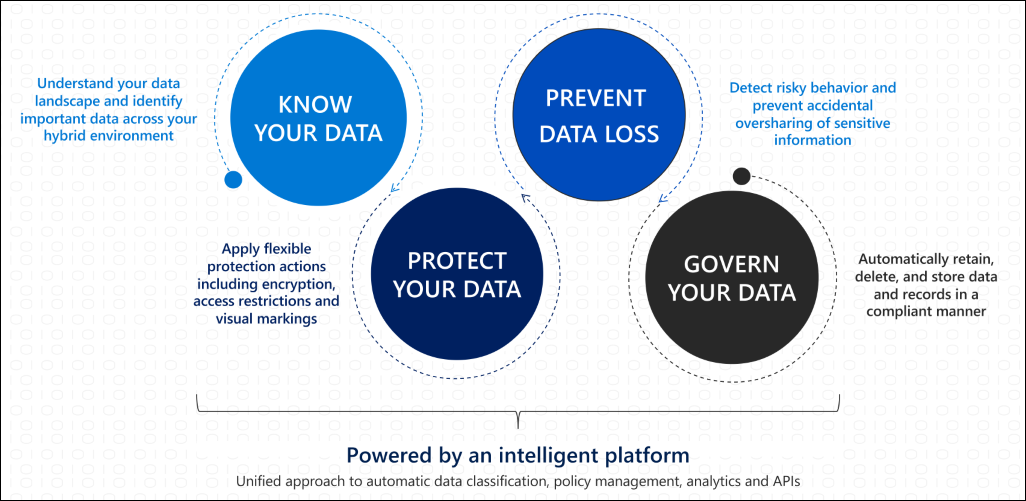
To successfully implement AIP as a solution, we recommended following the phases of the Microsoft Information Protection Lifecycle as shown below:
Scenario: You have a Top-Secret AIP label configured in your organization to be used for all highly sensitive documents. You may have configured some protection controls in AIP such as encryption, preventing forwarding and inserting visual markings (watermark/header/footer). For additional data protection, you may also want a DLP Policy with a rule enabled on any content labeled Top-Secret to block people from sharing or to restrict access to everyone.
Here are the steps:
- Create the AIP labels in a policy.
- Publish the AIP Policy.
- Add some documents to a document library.
- Label some documents with the Top-Secret AIP Label
- Add a DLP Policy and DLP Rule for the Top-Secret label.
Step 1 and 2: Create AIP Labels and Publish
Configure AIP labels in the Azure Portal by adding them to the Global Policy. In this example, I’ve added labels: Top Secret
From the Microsoft Purview compliance portal, select Solutions > Information protection > Labels
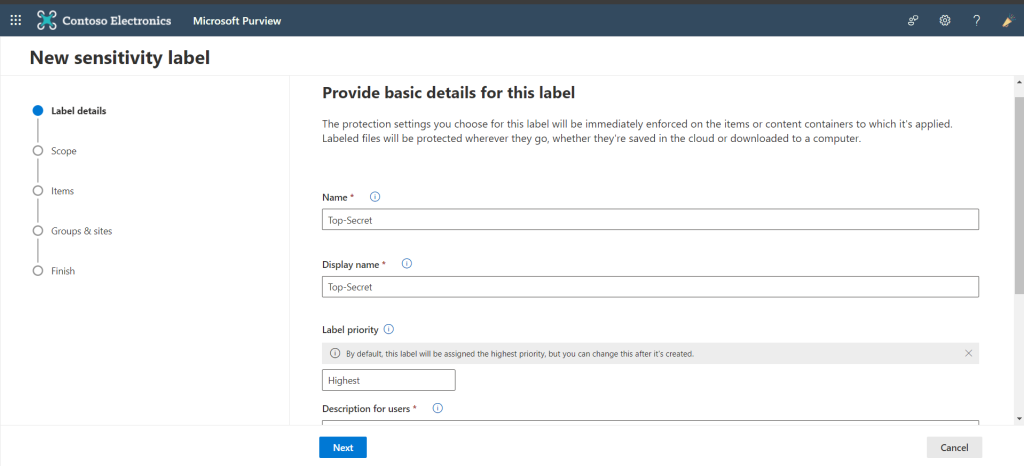
Step 1: Label details (Name, priority and description etc..)
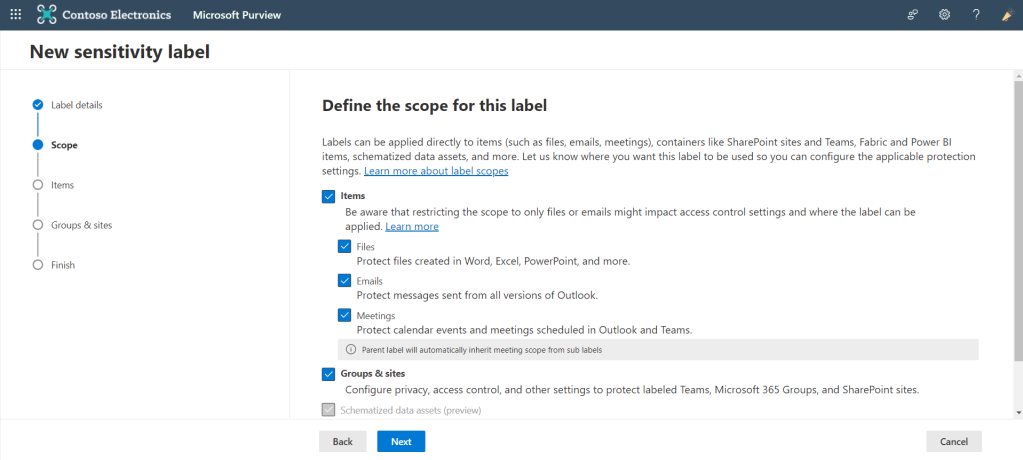
Step 2: In this step you define the scope of your label
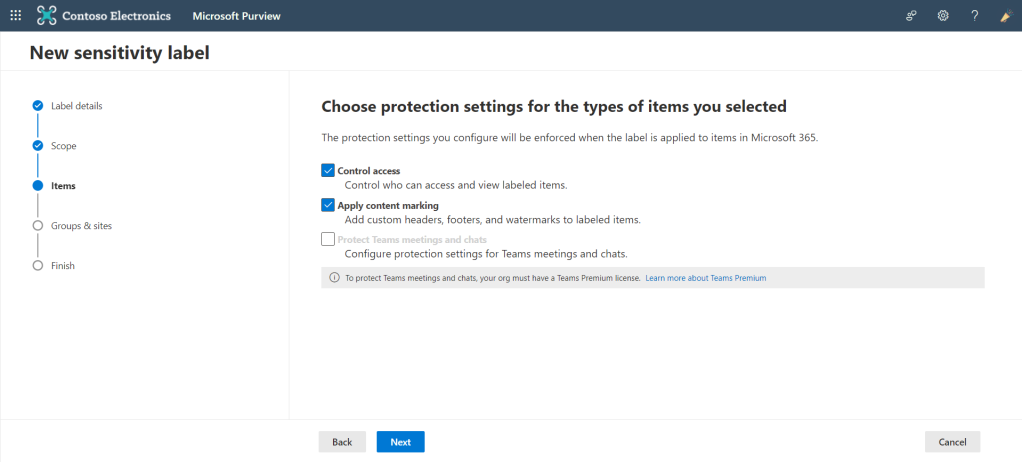
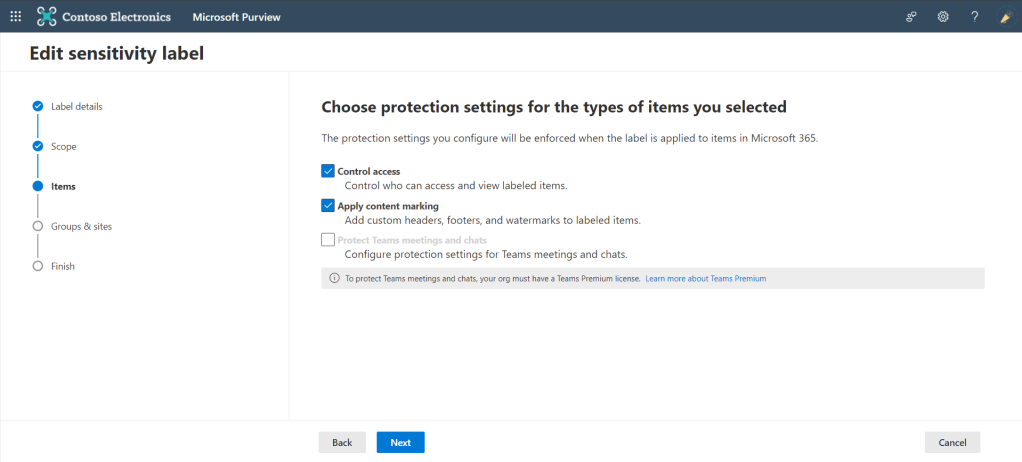
Step 3: Choose the protection settings like access control or content marking
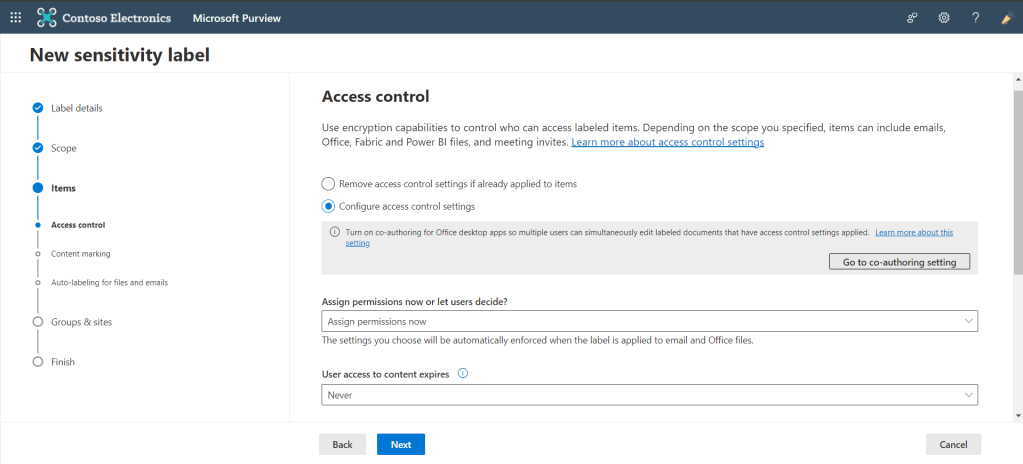
Step 4: Access control use to who can access labeled items
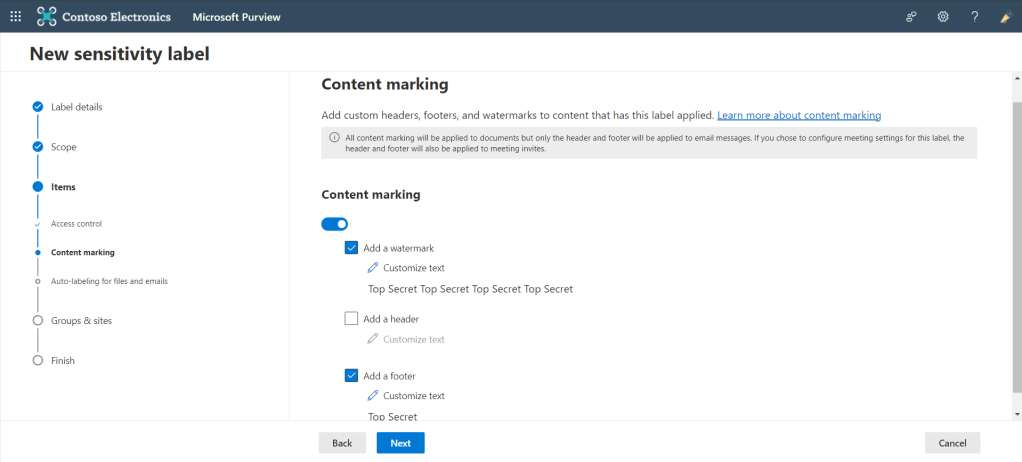
Step 5: Here you can add watermark, header or footer
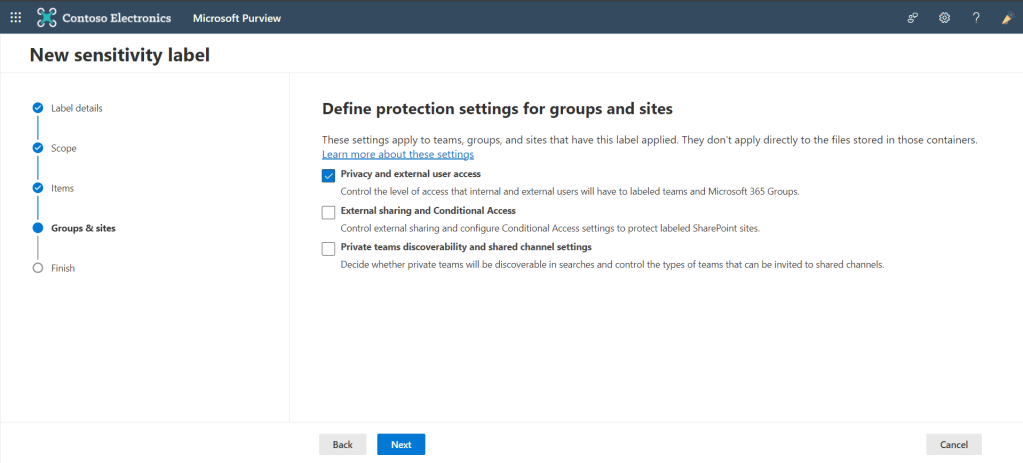
Step 6: Protection settings for sites and groups
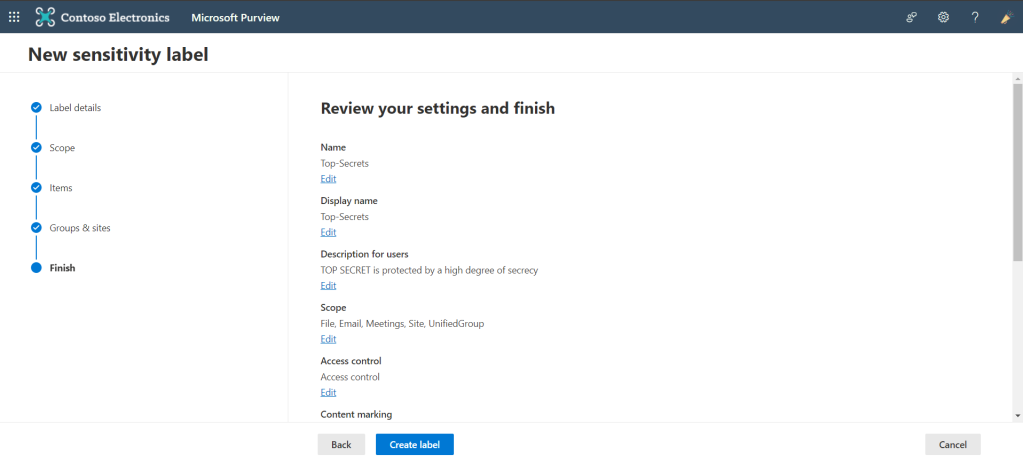
Finally here you can review your label and you can edit it or click on create.
To edit an existing label, select it, and then select the Edit label button:
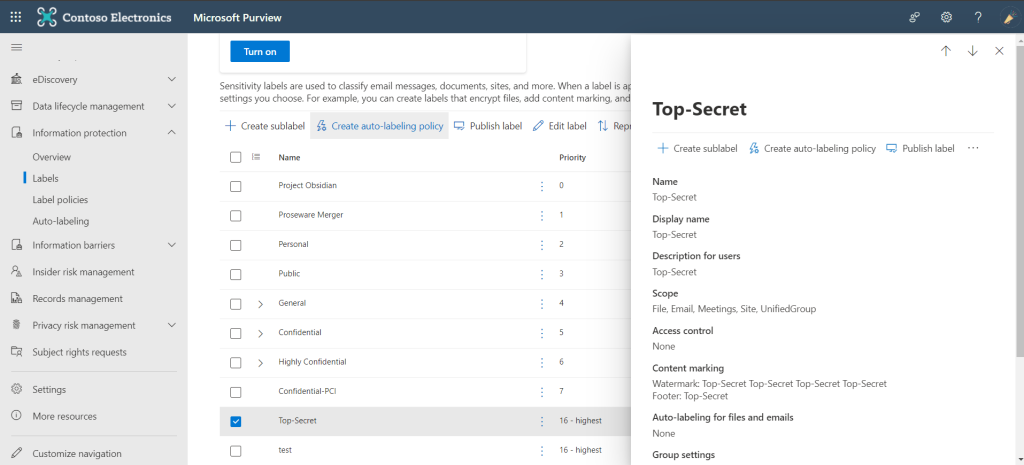
First select the label that you want to edit then press edit label
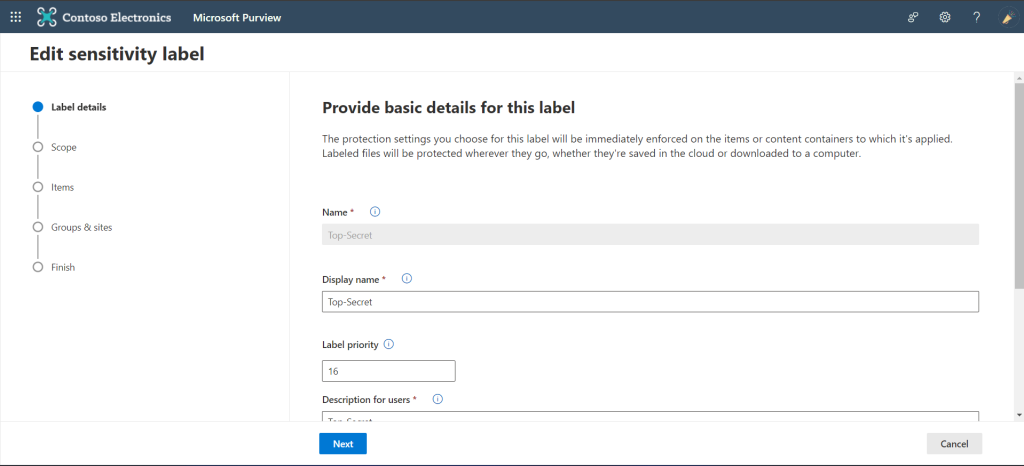
Step 1: Label details (Display Name, priority and description etc..)
Step 2: In this step you define the scope of your label
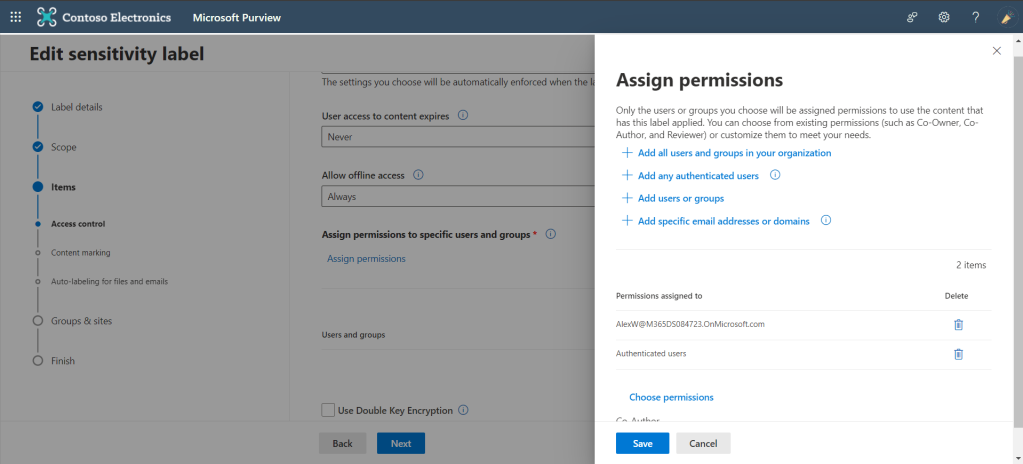
Step 3: Here you can edit the permissions for your users or groups

Step 5: Here you can add watermark, header or footer
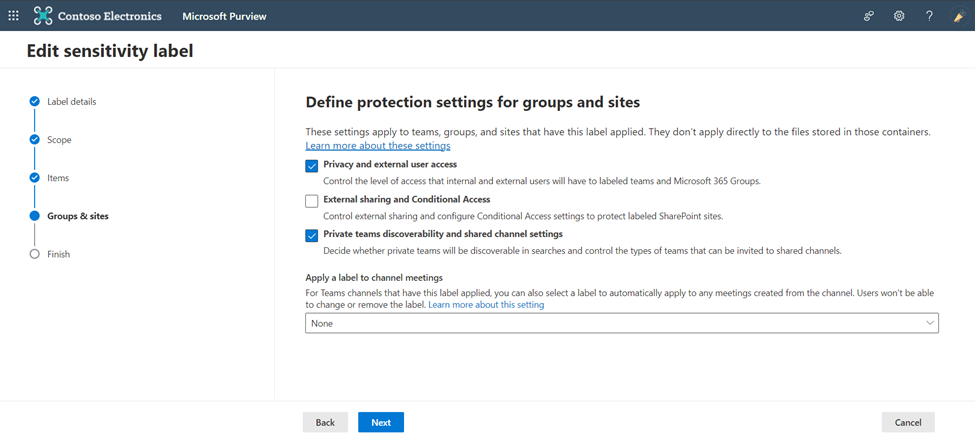
Step 6: Protection settings for sites and groups

This is the final result of your label.
Step 3 and 4: Add documents and label them
If you have AIP configured in your environment, you will see an Information Protection bar under the Office ribbon in the Office. It will display your published AIP labels.

Step 5: Create DLP Policy and Rule
Create a DLP Rule in the TopSecret_policy. In this example, I’ve chosen to block access to Top-Secret documents to anyone inside the organization except for the owner.
- Sign in to the Microsoft Purview compliance portal.
- In the Microsoft Purview compliance portal > left navigation > Solutions > Data loss prevention > Policies > + Create policy
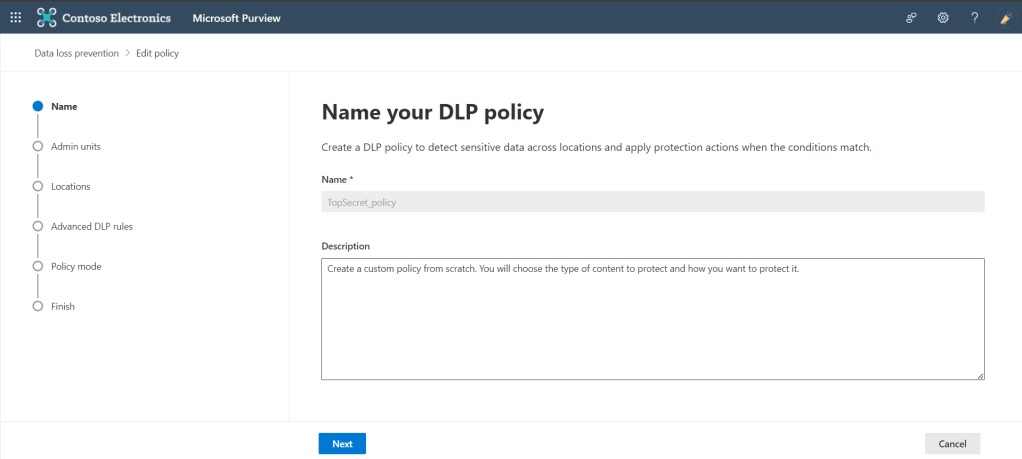
Step 1: Set name and description to your policy
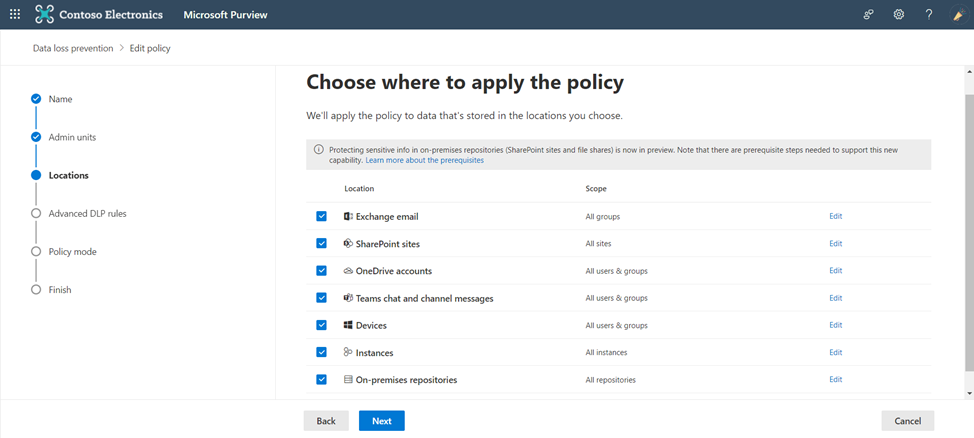
Step 2: Choose where to apply it
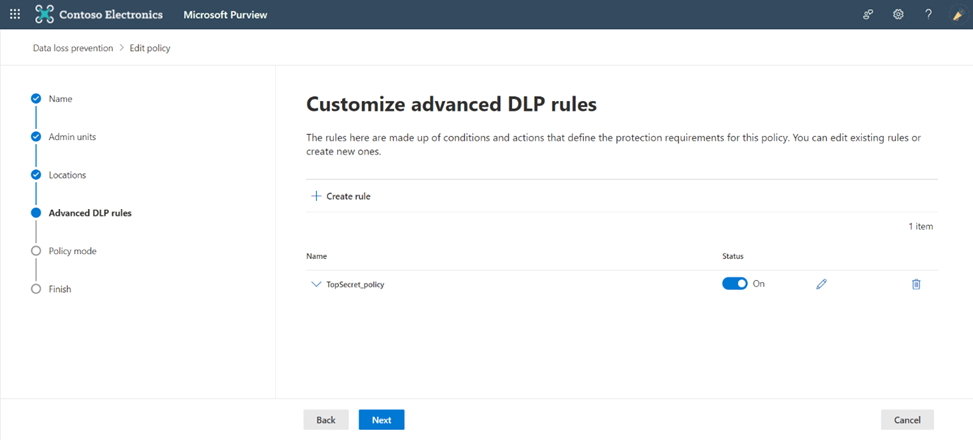
Step 3: Create a rule which you customize it to satisfy your needs
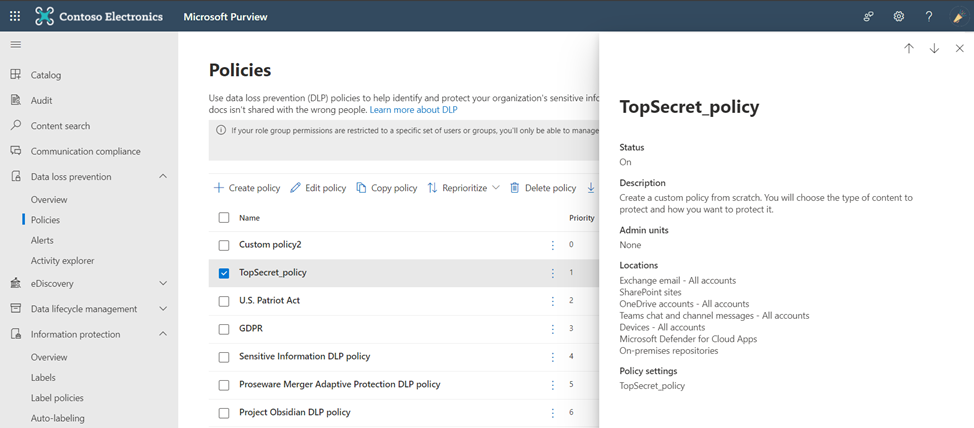
Finally here DLP policy has been created successfully.
In summary, protection within the AIP purview represents a proactive approach to safeguarding sensitive data assets in today’s interconnected world. And we will continue in part 2 which will see the user interface.
See you soon 😀
Mostafa Ashraf
System Engineer
