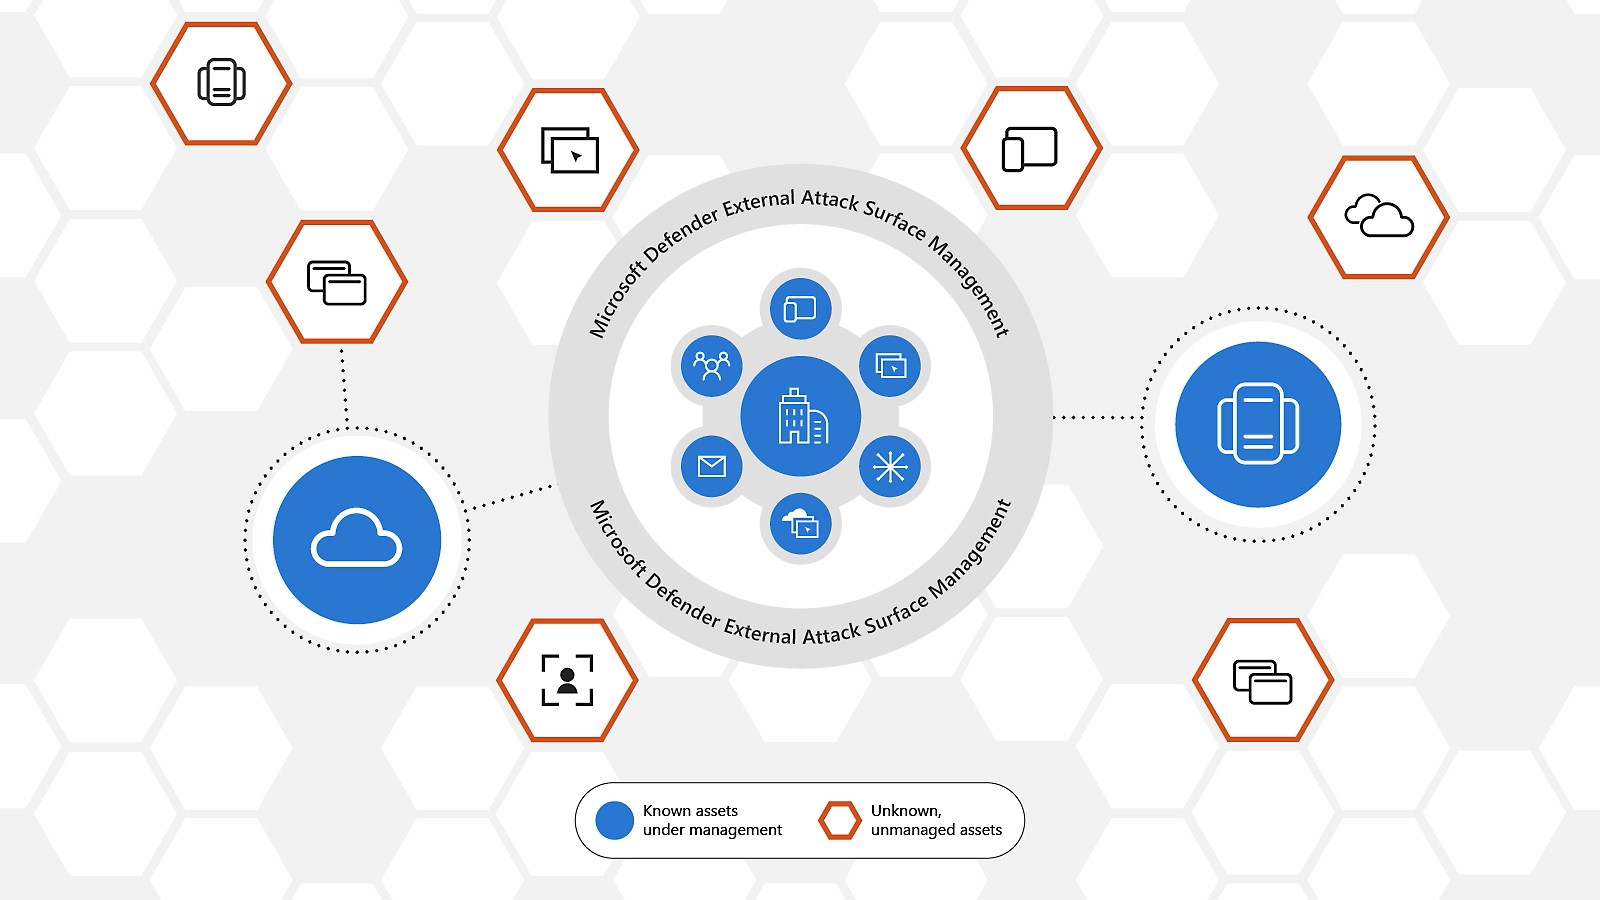
Welcome to our very first blog post! In this blog post we’ll talk about Microsoft Defender External Attack Surface Management. Defender EASM puts itself in the position of an external attacker and tries to identify threats and vulnerability within your assets.
As part of its work, it uncovers any hidden resources you might not know of by discovering any assets you might have. This process by
Defender EASM includes the discovery of the following kinds of assets:
- Domains
- Hosts
- Pages
- IP Blocks
- IP Addresses
- Autonomous System Numbers (ASNs)
- SSL Certificates
- WHOIS Contacts
To deploy Defender EASM, you’ll need to have the following:
- A valid Azure subscription or free Defender EASM trial account. If you don’t have an Azure subscription, create a free Azure account before you begin.
- A Contributor role assigned for you to create a resource. To get this role assigned to your account, follow the steps in the Assign roles documentation. Or you can contact your administrator.
To deploy Defender EASM, open Azure Portal (Portal.Azure.Com), within the search bar enter EASM

Click on Microsoft Defender EASM

Click on Create Microsoft Defender EASM workspace.

Select or enter the following property values:
- Subscription: Select an Azure subscription.
- Resource group: You can also create a new one as part of the process of creating this resource or you can select an already created resource group
- Name: Give the Defender EASM workspace a name.
- Region: Select an Azure location. See the supported regions listed in the preceding section.


Select Review + create.

Select Refresh to see the status of the resource creation. Now you can go to the resource to get started.

Discovering assets lies on Microsoft’s proprietary discovery technology to continuously define your organization’s unique internet-exposed attack surface.

Select Create a custom attack surface

Enter the organization Information and proceed to Seeds Section

Alternatively, you can manually input your seeds. Defender EASM accepts organization names, domains, IP blocks, hosts, email contacts, ASNs, and Whois organizations as seed values.
You can also specify entities to exclude from asset discovery to ensure they aren’t added to your inventory if detected. For example, exclusions are useful for organizations that have subsidiaries that will likely be connected to their central infrastructure, but don’t belong to their organization.


The discovery process take up to 48 hours, so you might have to wait sometime until it is ready for you.
Below are examples for what you’ll see one the process is completed.


That’s it for Part 1, in the next part we’ll take a closer look on the results of the scanning process and take a quick overview on the available dashboards. If you have any questions please drop us a comment in the comments section.
See you soon!
Karim Hamdy
