
What is Azure Policy?
Azure Policy helps to enforce organizational standards and to assess compliance at-scale. Through its compliance dashboard, it provides an aggregated view to evaluate the overall state of the environment, with the ability to drill down to the per-resource, per-policy granularity. It also helps to bring your resources to compliance through bulk remediation for existing resources and automatic remediation for new resources.
Common use cases for Azure Policy include implementing governance for resource consistency, regulatory compliance, security, cost, and management. Policy definitions for these common use cases are already available in your Azure environment as built-ins to help you get started.
Specifically, some useful governance actions you can enforce with Azure Policy include:
- Ensuring your team deploys Azure resources only to allowed regions
- Enforcing the consistent application of taxonomic tags
- Requiring resources to send diagnostic logs to a Log Analytics workspace
It’s important to recognize that with the introduction of Azure Arc, you can extend your policy-based governance across different cloud providers and even to your local datacenters.
Today we’re going to make sure our Kubernetes environment are compatible with our policy
First you need to connect your existing kubernetes cluster to Azure Arc
Prerequisites
In addition to these prerequisites, be sure to meet all network requirements for Azure Arc-enabled Kubernetes.
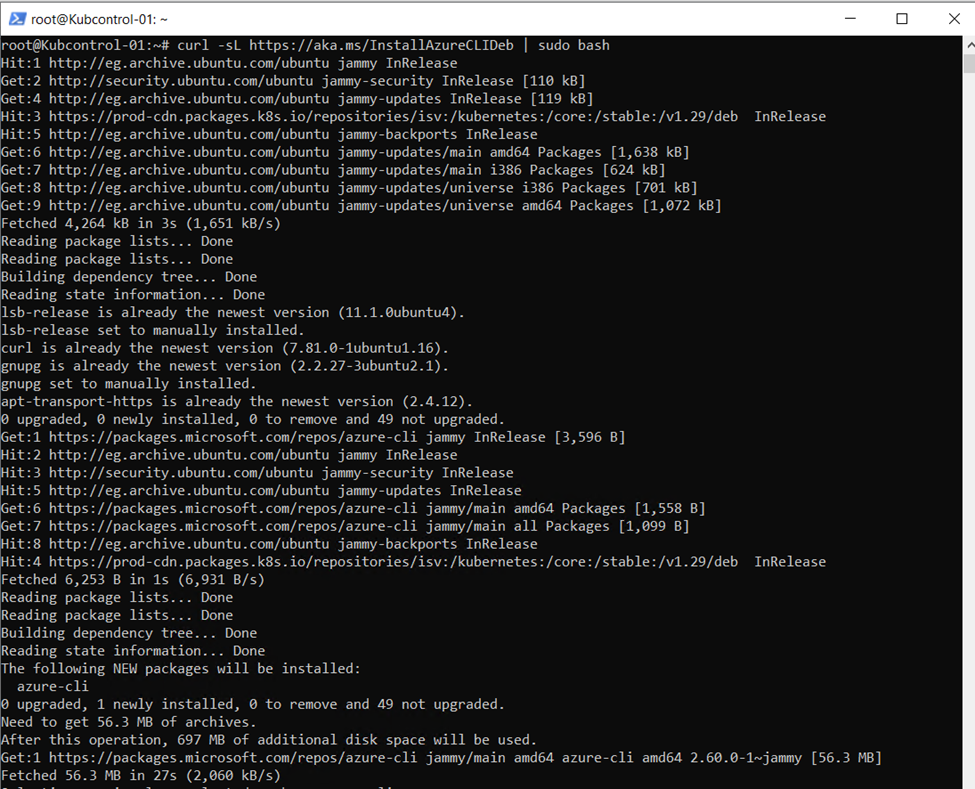
The latest version of Azure CLI.
curl -sL https://aka.ms/InstallAzureCLIDeb | sudo bash

The latest version of connectedk8s Azure CLI extension, installed by running the following command:
az extension add –name connectedk8s

Register providers for Azure Arc-enabled Kubernetes
Enter the following commands:
az provider register –namespace Microsoft.Kubernetes
az provider register –namespace Microsoft.KubernetesConfiguration
az provider register –namespace Microsoft.ExtendedLocation

Connect an existing Kubernetes cluster
Run the following command to connect your cluster. This command deploys the Azure Arc agents to the cluster and installs Helm v. 3.6.3 to the .azure folder of the deployment machine. This Helm 3 installation is only used for Azure Arc, and it doesn’t remove or change any previously installed versions of Helm on the machine.
az connectedk8s connect –name K8sCluster –resource-group rgname

Note
After onboarding the cluster, it takes around 5 to 10 minutes for the cluster metadata (cluster version, agent version, number of nodes, etc.) to surface on the overview page of the Azure Arc-enabled Kubernetes resource in Azure portal.
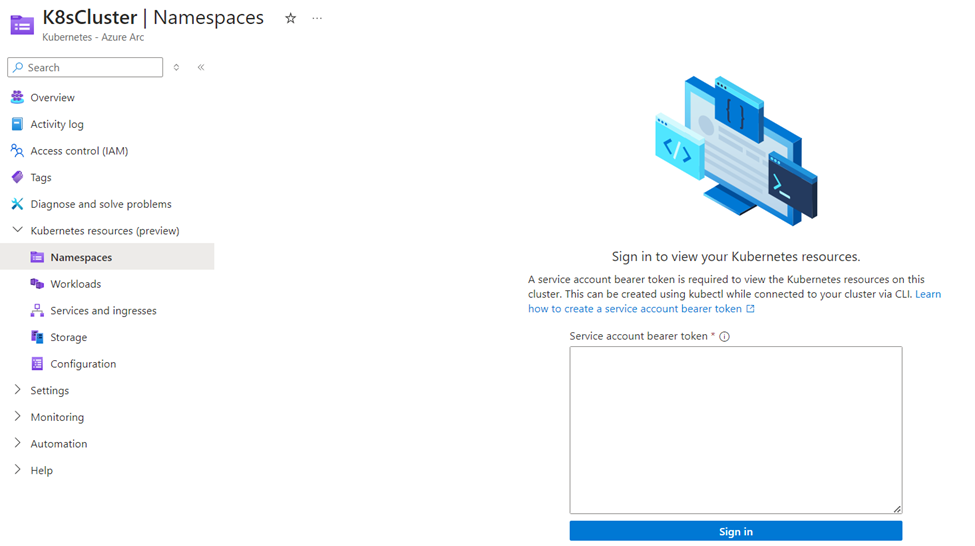
When browsing through your cluster, you need to create a service account to access your resources. Follow the following steps to do that.
With the kubeconfig file pointing to the apiserver of your Kubernetes cluster, run this command to create a service account. This example creates the service account in the default namespace, but you can substitute any other namespace for default.
kubectl create serviceaccount auth-user -n default

Create ClusterRoleBinding to grant this service account the appropriate permissions on the cluster. If you used a different namespace in the first command, substitute it here for default.
kubectl create clusterrolebinding auth-user-binding –clusterrole cluster-admin –serviceaccount default:auth-user

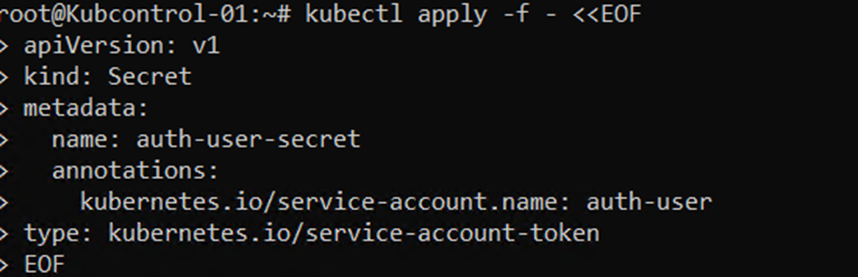
Create a service account token:
kubectl apply -f – <<EOF
apiVersion: v1
kind: Secret
metadata:
name: auth-user-secret
annotations:
kubernetes.io/service-account.name: auth-user
type: kubernetes.io/service-account-token
EOF
TOKEN=$(kubectl get secret auth-user-secret -o jsonpath='{$.data.token}’ | base64 -d | sed ‘s/$/\n/g’)

Get the token to output to console.
You’ve completed the first step In onboarding your cluster to Azure Arc and authentication to your cluster.
The next part is to create and policy and assign it to your resource group containing your cluster.
Create a policy assignment.
- Sign in to the Azure portal.
- Search for policy and select it from the list.

- Select Assignments on the Policy pane.
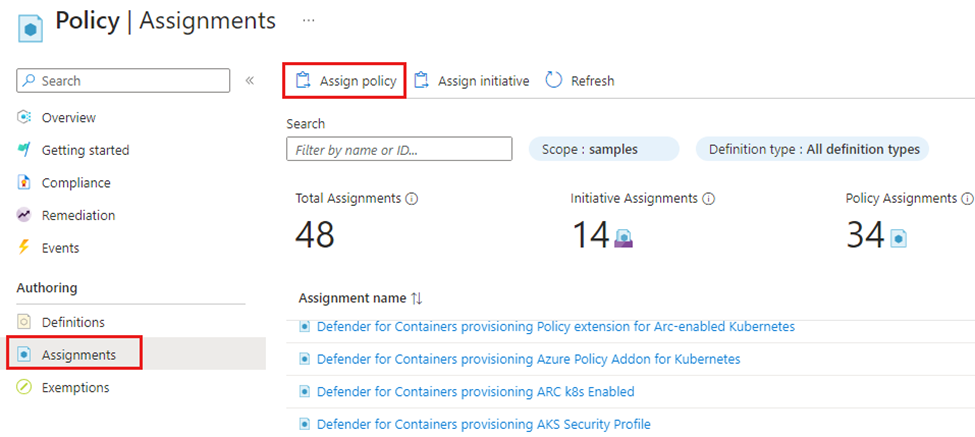
- Select Assign Policy from the Policy Assignments pane.
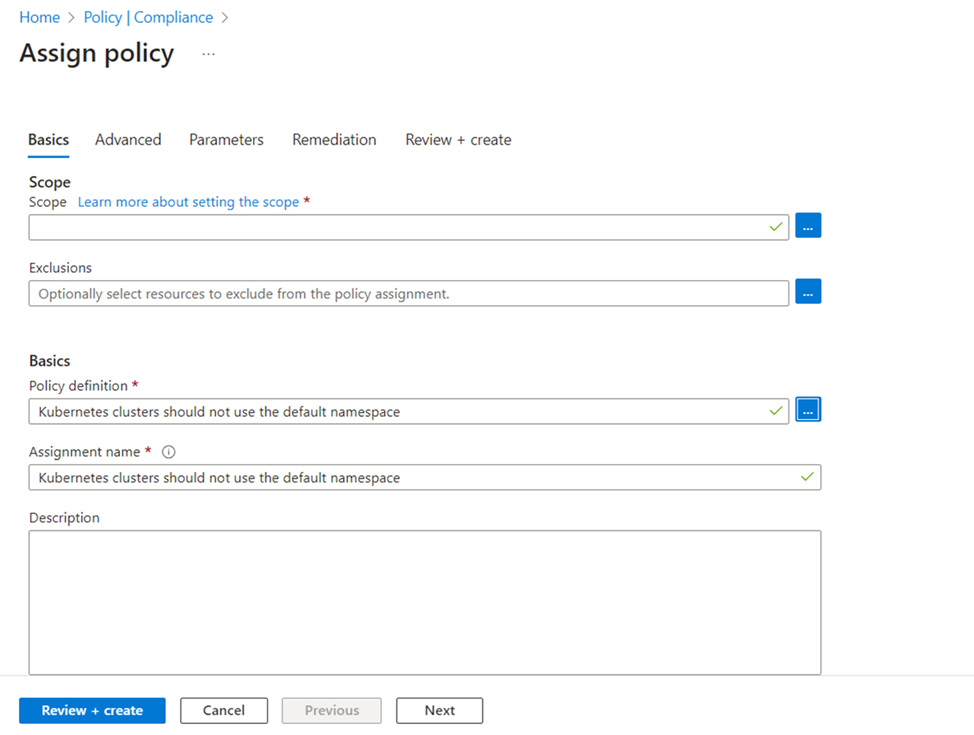
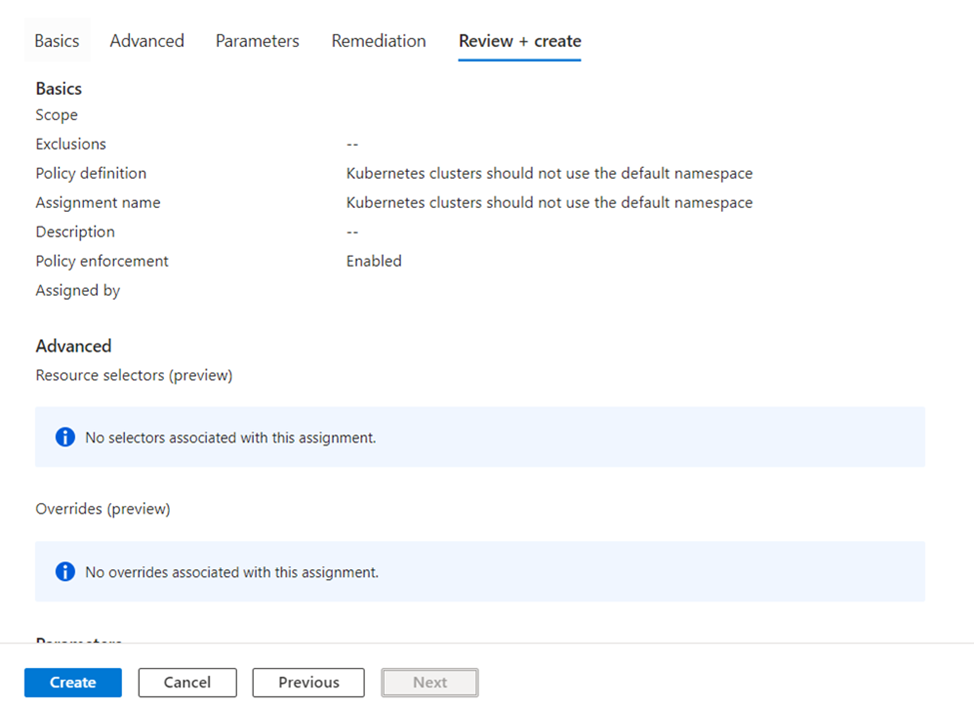
- On the Assign Policy pane Basics tab configure the following options:
| field | Action |
| Scope | Use the ellipsis (…) and then select a subscription and a resource group. Then choose Select to apply the scope. |
| Exclusions | Optional and isn’t used in this example. |
| Policy definition | Select the ellipsis to open the list of available definitions. |
| Available Definitions | Search the policy definitions list for Audit VMs that do not use managed disks definition, select the policy, and select Add. |
| Assignment name | By default uses the name of the selected policy. You can change it but for this example, use the default name. |
| Description | Optional to provide details about this policy assignment. |
| Policy enforcement | Defaults to Enabled. For more information, go to enforcement mode. |
| Assigned by | Defaults to who is signed in to Azure. This field is optional and custom values can be entered. |
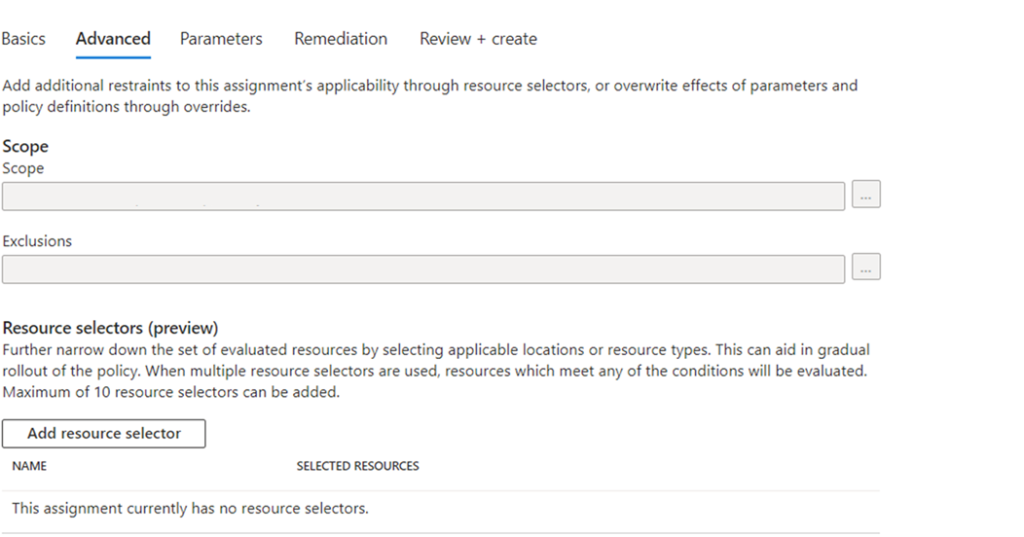
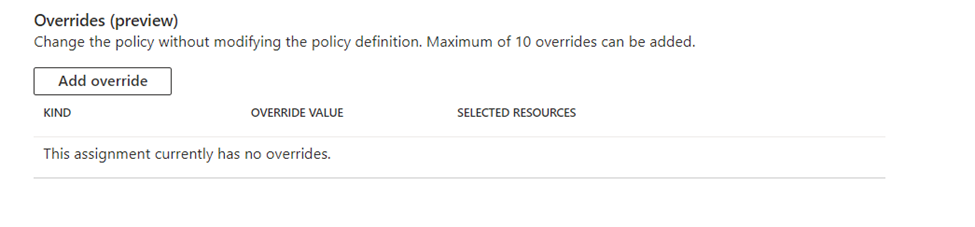
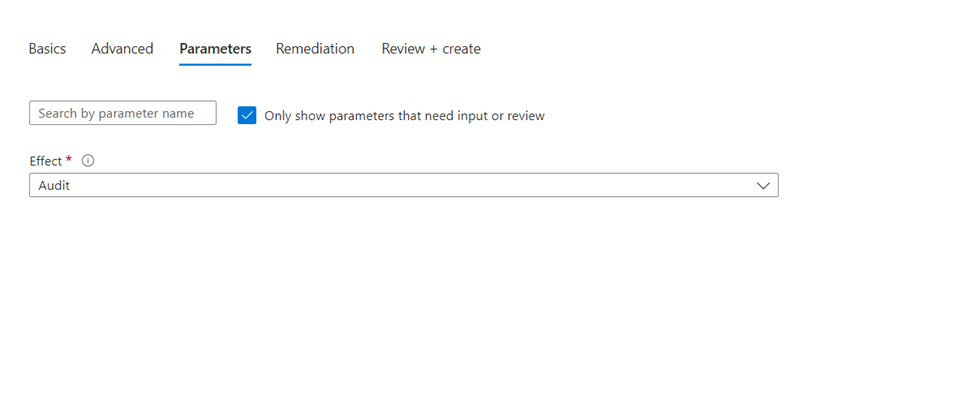
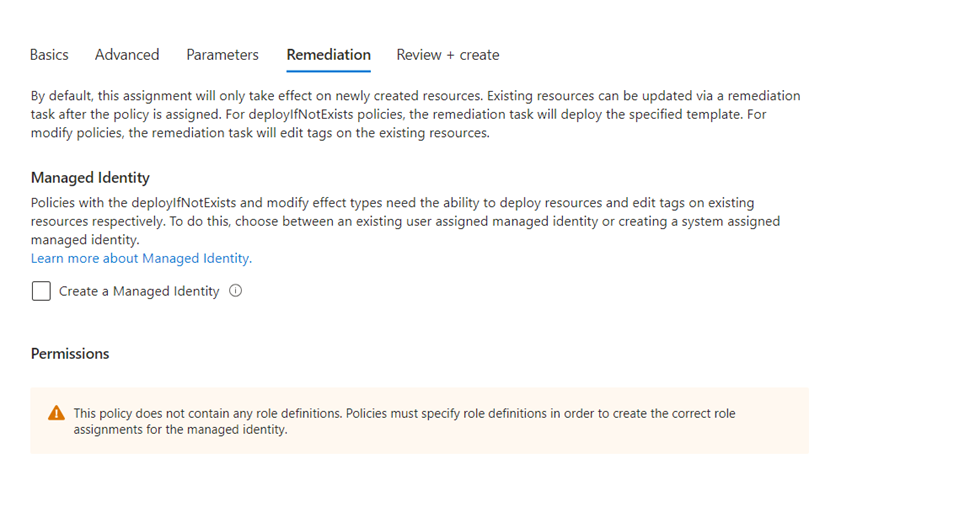
Select Next to view each tab for Advanced, Parameters, and Remediation
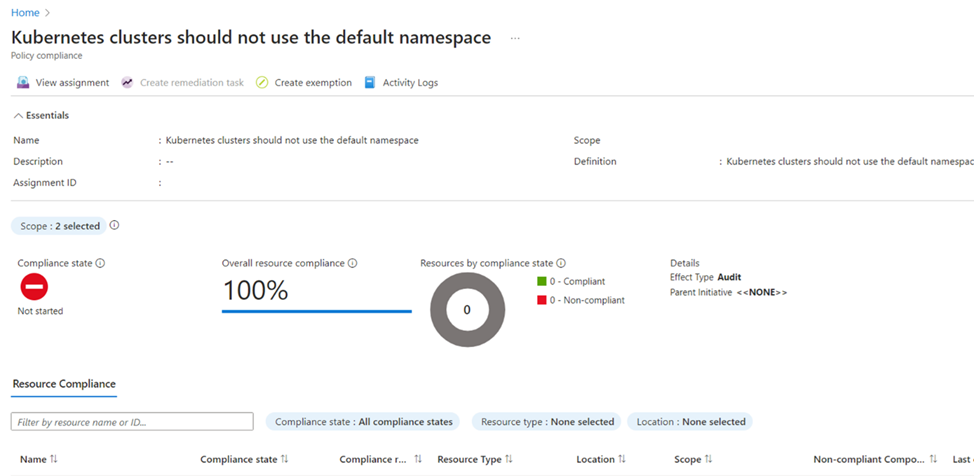
The policy assignment shows resources that aren’t compliant with a Compliance state of Non-compliant. To get more details, select the policy assignment name to view the Resource Compliance.
When a condition is evaluated against your existing resources and found true, then those resources are marked as non-compliant with the policy. The following table shows how different policy effects work with the condition evaluation for the resulting compliance state. Although you don’t see the evaluation logic in the Azure portal, the compliance state results are shown. The compliance state result is either compliant or non-compliant.
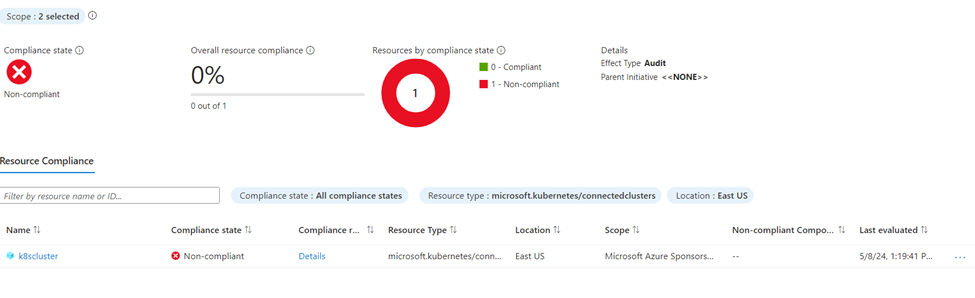
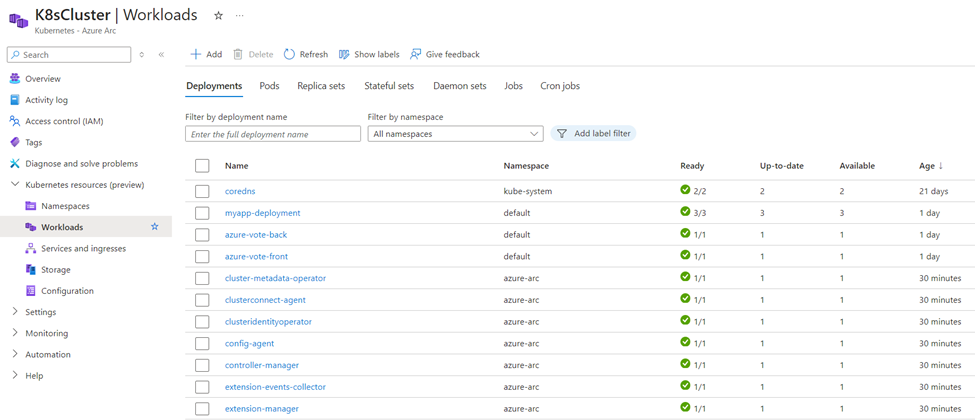
After a while the policy should run and should be non-compliant since we are deploying pods to the default namespace.
[…] the Previous post we talked about Onboarding onprem Kubernetes cluster and using Azure Policy to check for compliance […]
[…] Refer to our post on Defender for Cloud here […]