Windows Server 2025 introduces several new features and enhancements for Active Directory (AD), aimed at improving security, performance, and scalability. Here are some of the key updates:
- Jet 32k Page Database Format:
- The Active Directory database has been upgraded to use a 32k page size, up from the previous 8k. This change reduces page fragmentation, supports larger objects more efficiently, and improves database scalability and performance
- AD object repair
- AD now allows enterprise administrators to repair objects with missing core attributes SamAccountType and ObjectCategory. Enterprise administrators can reset the LastLogonTimeStamp attribute on an object to the current time. These operations are achieved through a new RootDSE modify operation feature on the affected object called fixupObjectState.
- NUMA (Non-Uniform Memory Access) Support:
- Active Directory now includes NUMA support, optimizing performance by better utilizing modern server hardware configurations. This feature improves memory and processor utilization, enhancing the responsiveness and throughput of AD services in large-scale environments
- New Functional Levels:
- Windows Server 2025 introduces new forest and domain functional levels, which include additional features and improvements. Upgrading to these new functional levels will require a minimum functional level of Server 2016 for existing domains
- Security Enhancements:
- Several security updates have been made, including the enforcement of LDAP over TLS 1.3, default use of the RC4 algorithm, and blocking older SAM-RPC interfaces. These measures enhance the security posture of Active Directory in various deployment scenarios
These updates in Windows Server 2025 aim to make Active Directory more secure, efficient, and scalable, catering to the needs of modern enterprise environments.
For further details, you can refer to the announcements from the Windows Server Summit and the following Microsoft Documentation.
Upgrade to Windows Server 2025 Domain Controller
Installation Steps
Prepare the Installation Media
- Download the ISO file from the official Microsoft website or use the provided physical media.
- If using a USB drive, use a tool like Rufus to create a bootable USB drive from the ISO file.
Boot from Installation Media
- Insert the USB drive or DVD into the server.
- Reboot the server and access the BIOS/UEFI settings.
- Configure the boot order to boot from the USB drive or DVD.
Start the Installation Process
- When prompted, press any key to boot from the installation media.
- The Windows Server setup will start loading files.
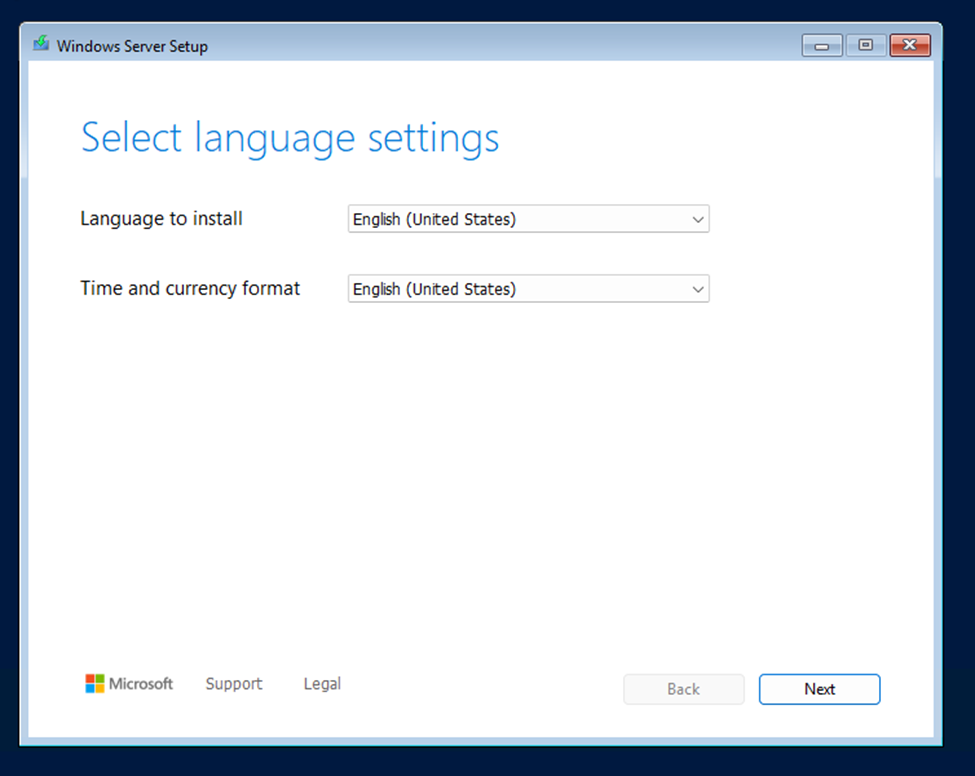
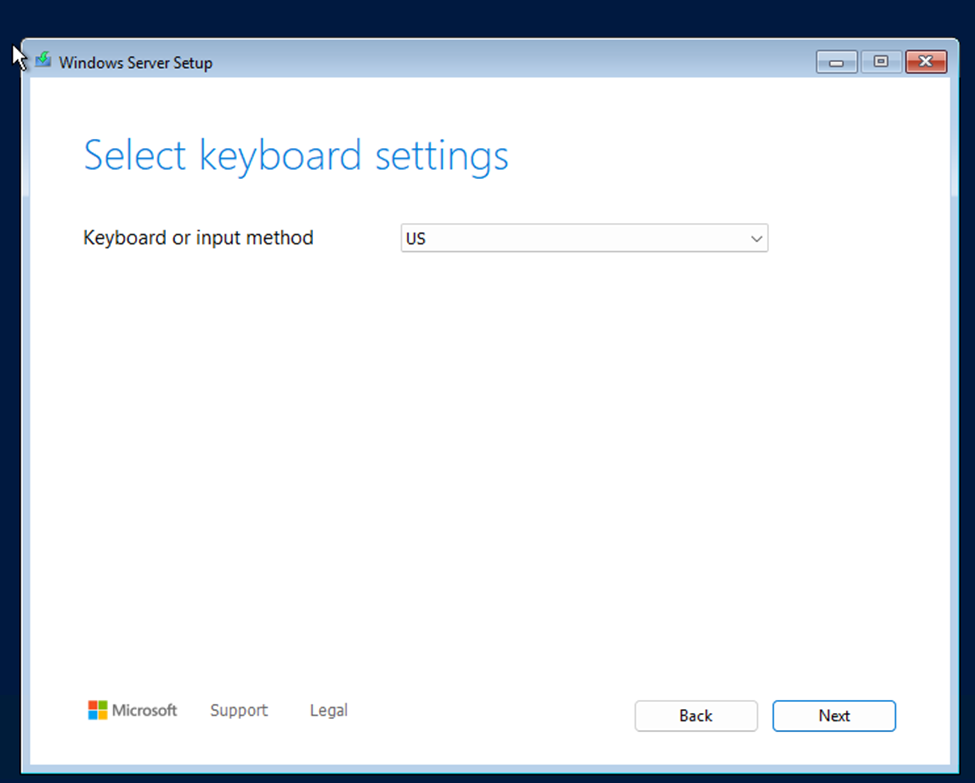
Select Language and Preferences
- Choose your preferred language, time and currency format, and keyboard input method.
- Click “Next” to continue.
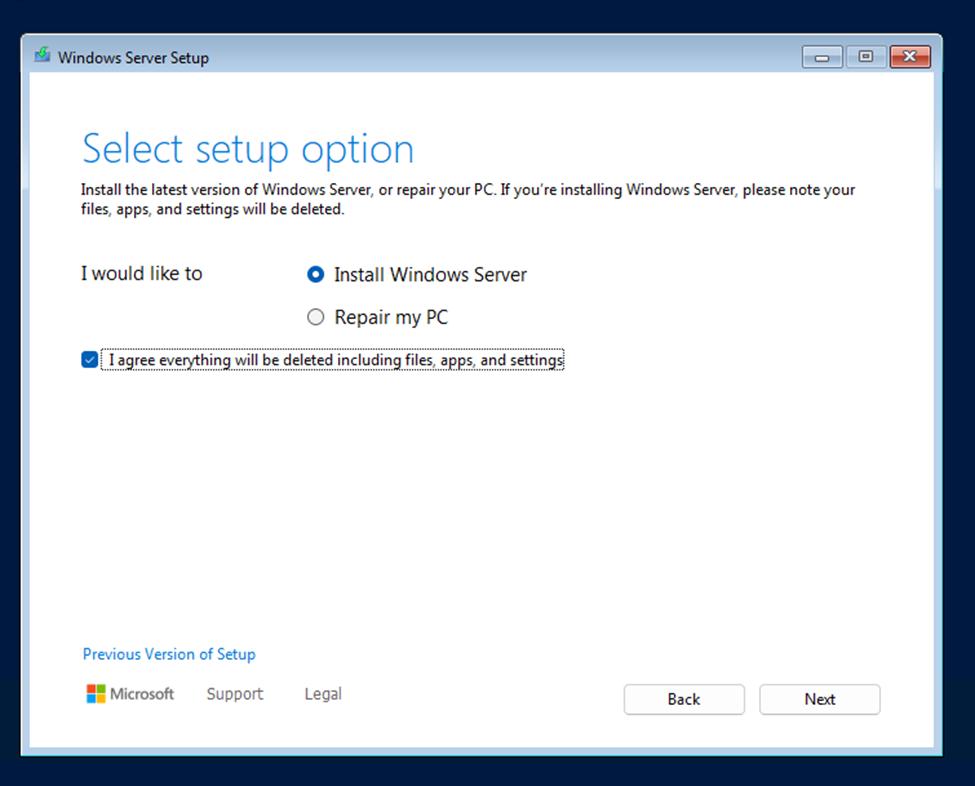
Select Setup Option and Click Next to continue
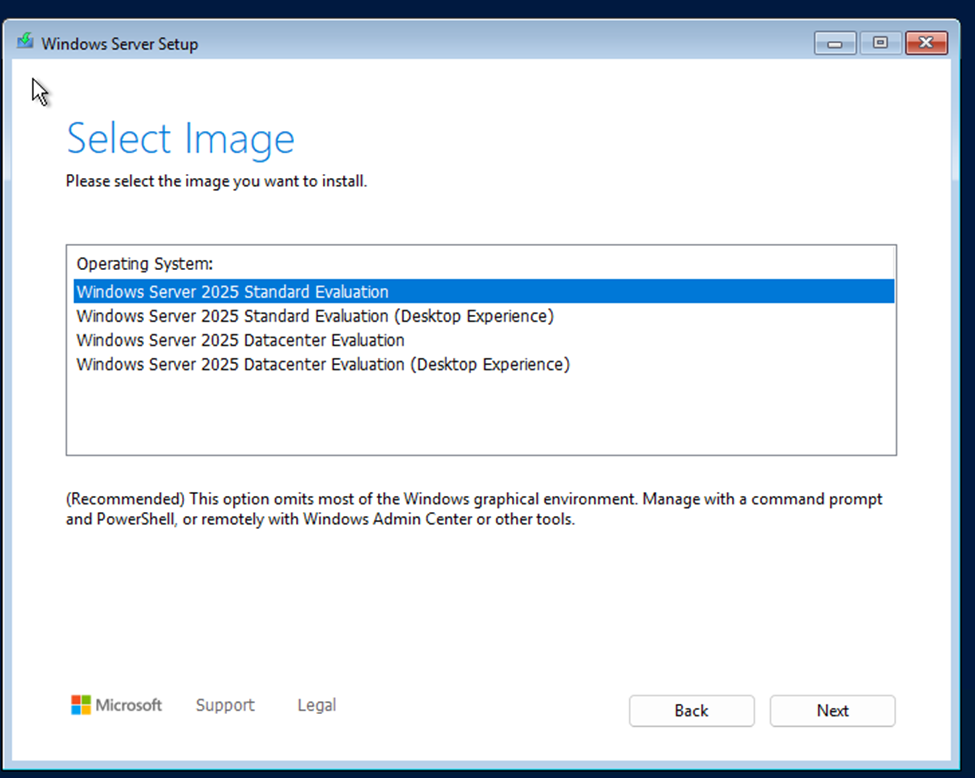
Select the Edition
- Choose the edition of Windows Server 2025 that you want to install (Standard, Datacenter, etc.).
- Click “Next.”
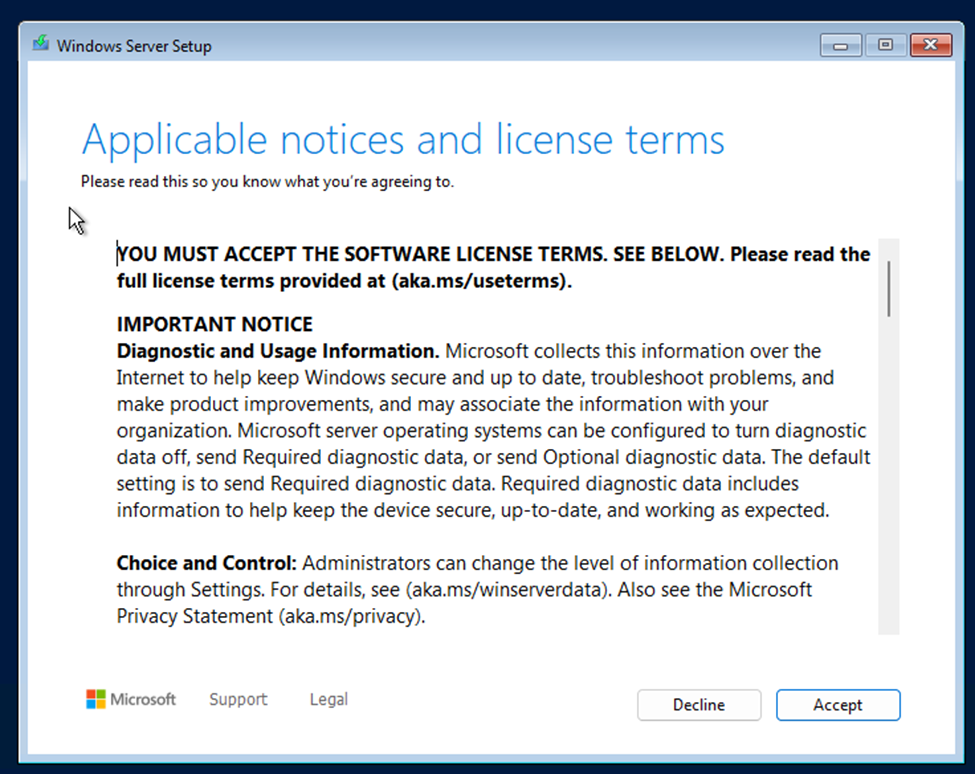
Accept License Terms
- Read and accept the license terms.
- Click “Next.”
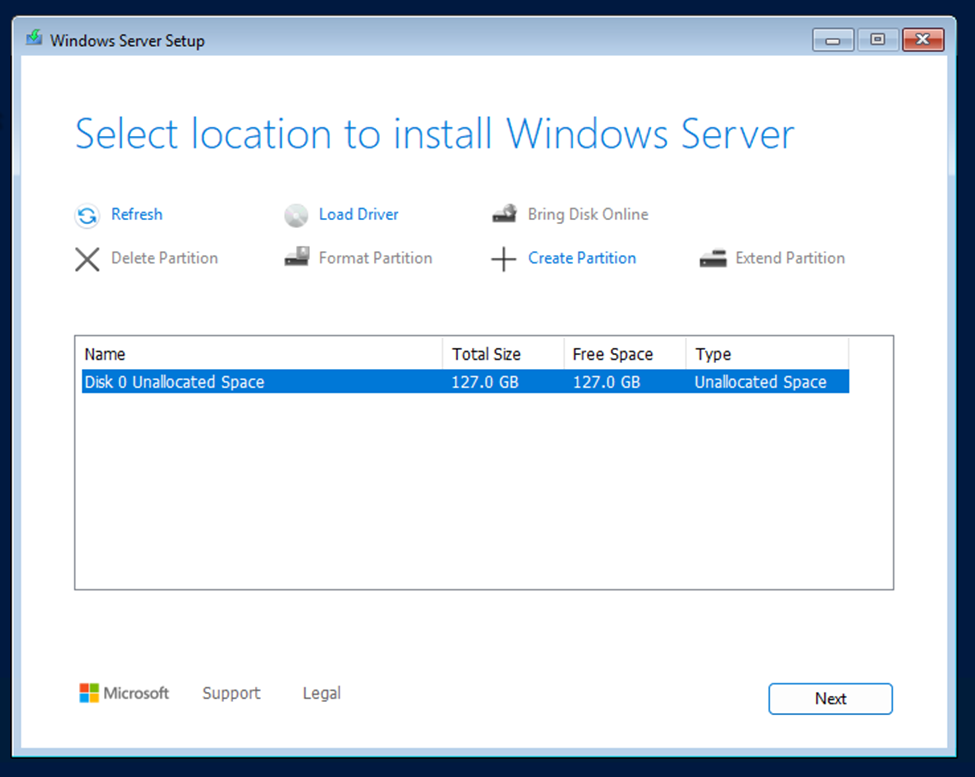
Partition the Hard Drive
- Select the drive where you want to install Windows Server 2025.
- Create new partitions if necessary or use existing ones.
- Click “Next” to start the installation.
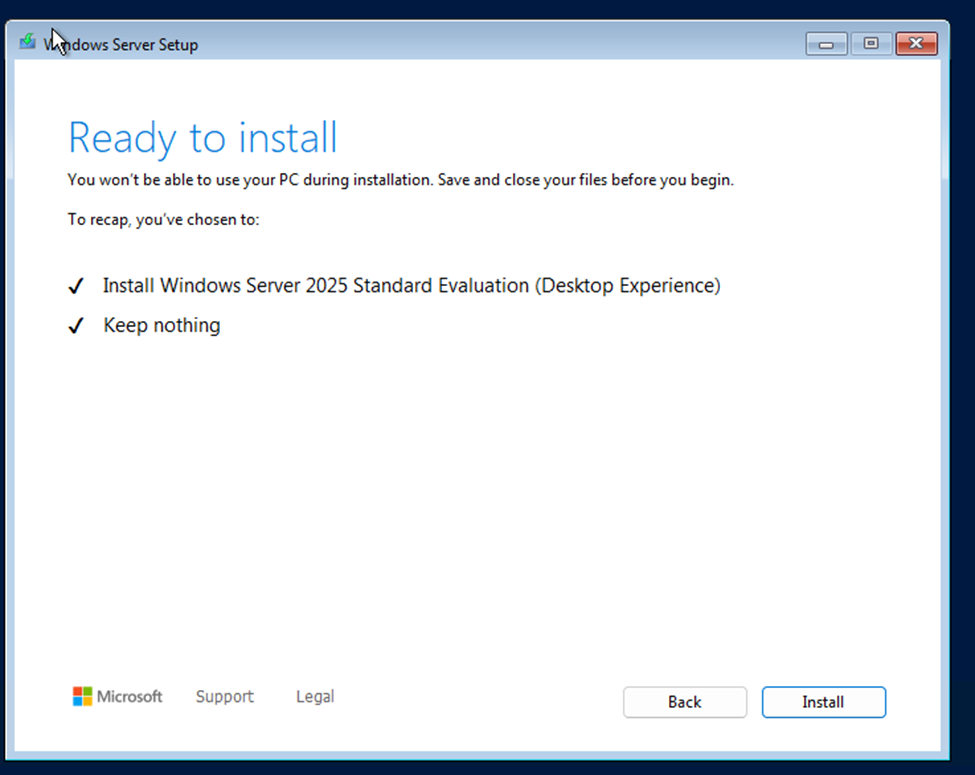
Review and Click install to begin the installation process
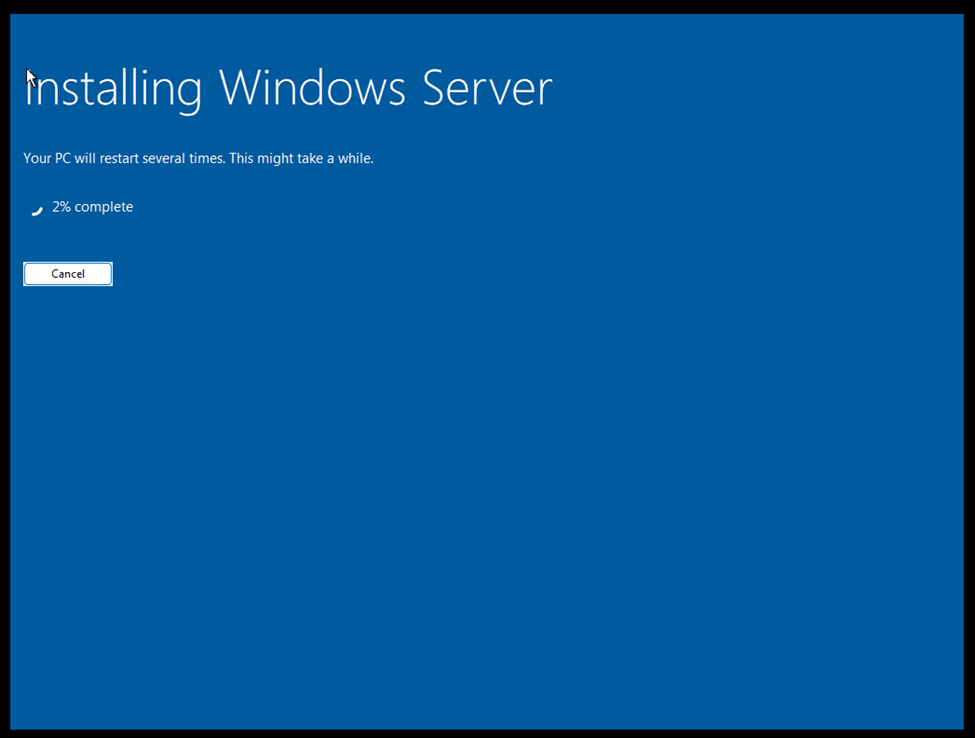
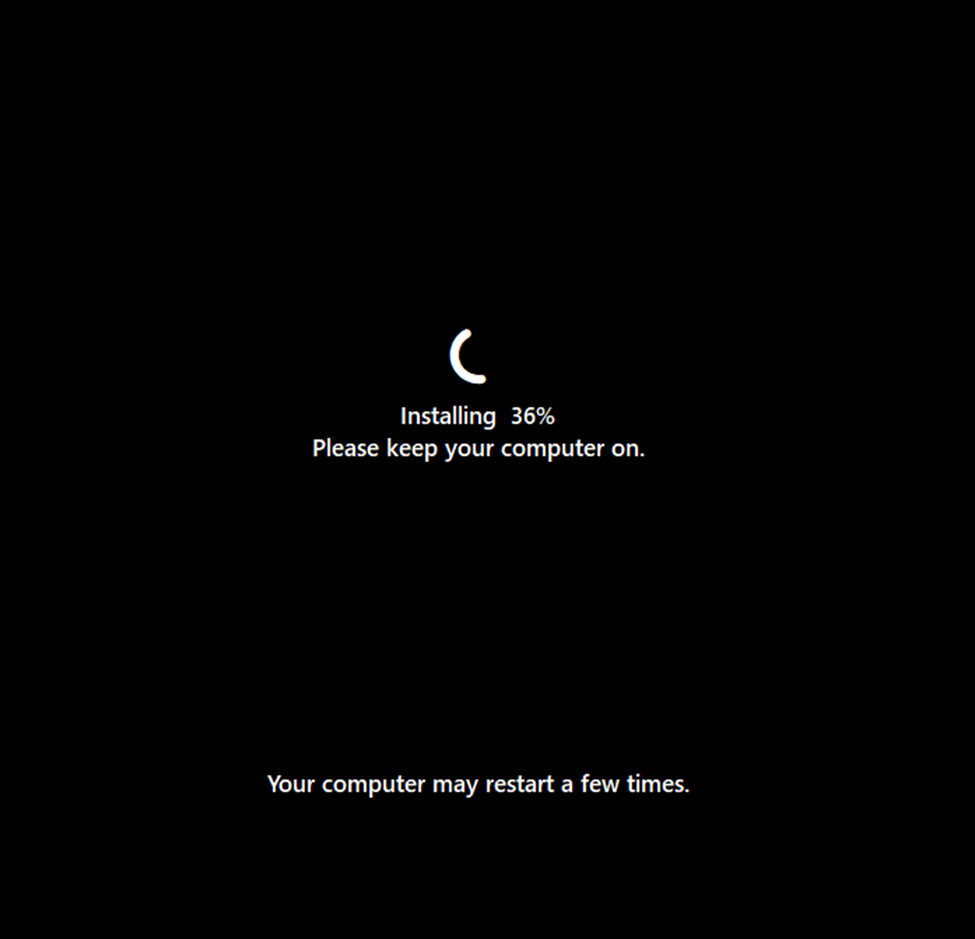
Installation Process
- The installation process will begin, and Windows will copy files, install features, and configure settings.
- This process may take some time. The server may restart several times.
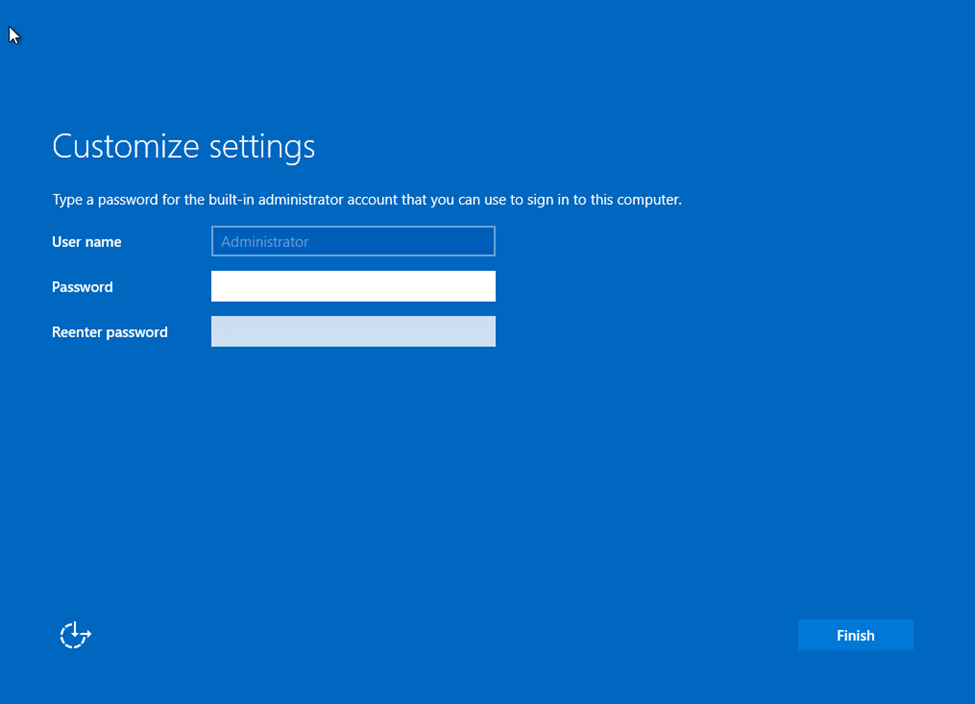
Configure Initial Settings
- After the installation completes, you’ll be prompted to configure initial settings.
- Set up a password for the Administrator account.
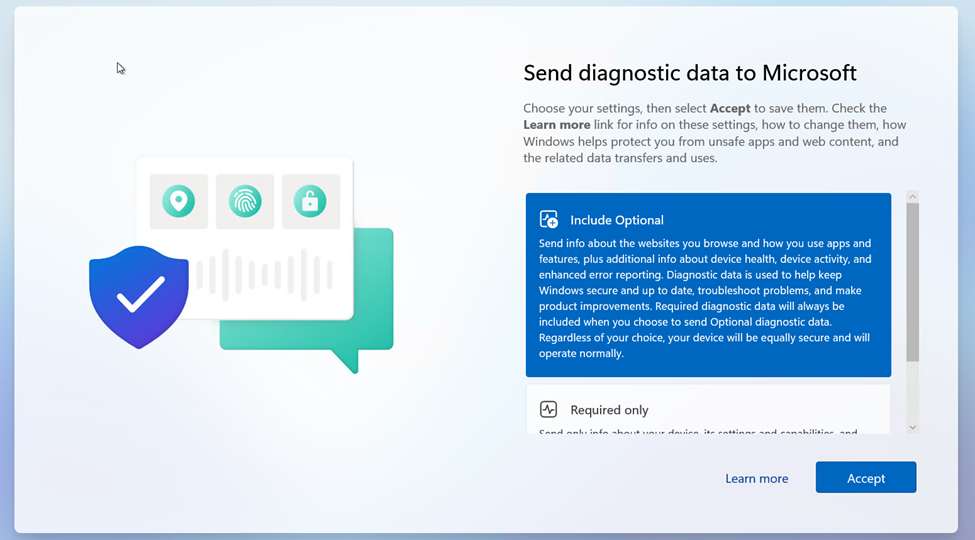
Final Configuration
- Configure server roles and features as needed (e.g., Active Directory, DNS, DHCP, etc.).
- Set up security settings, firewall rules, and other configurations.
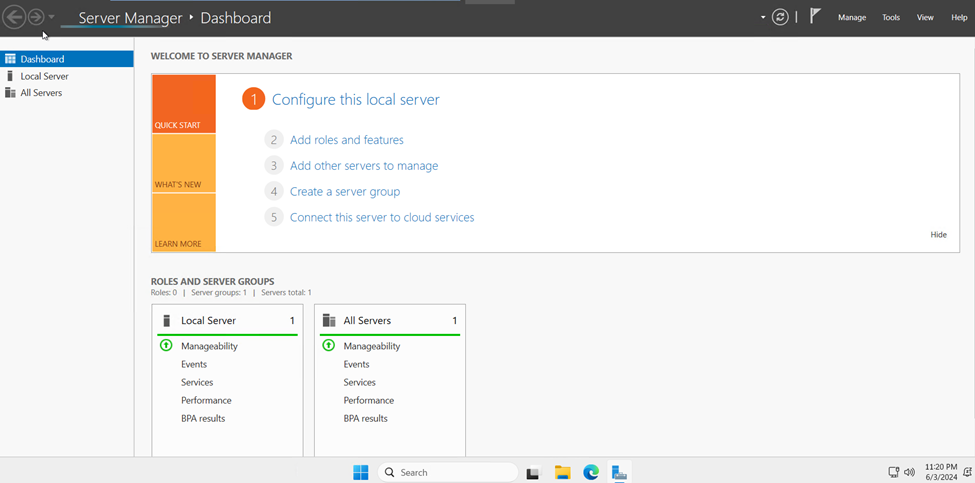
In Server Manager, click on Manage and then select Add Roles and Features
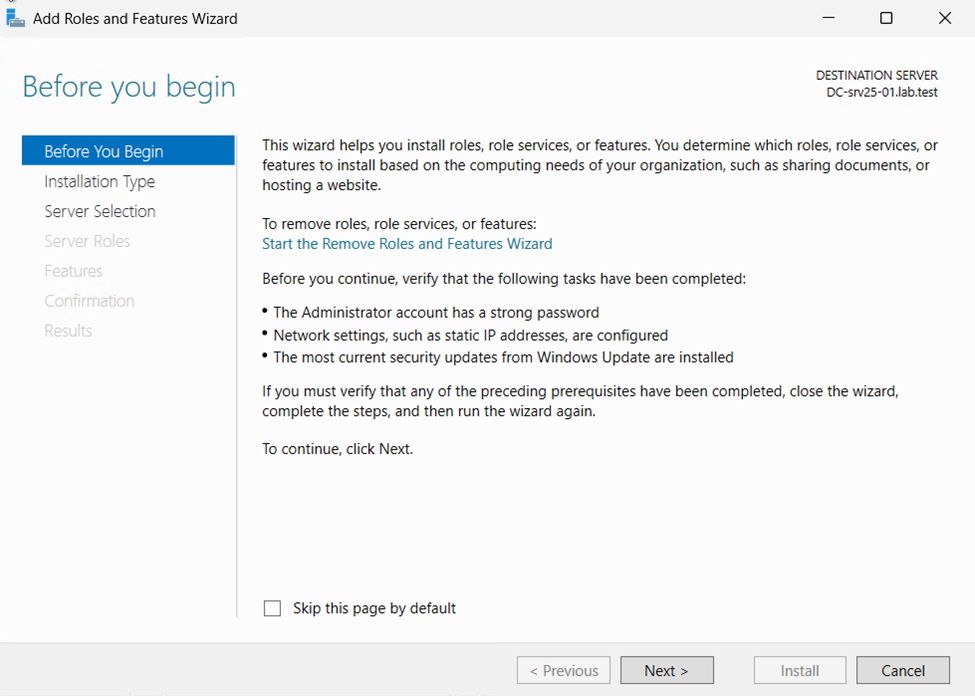
Click Next to continue
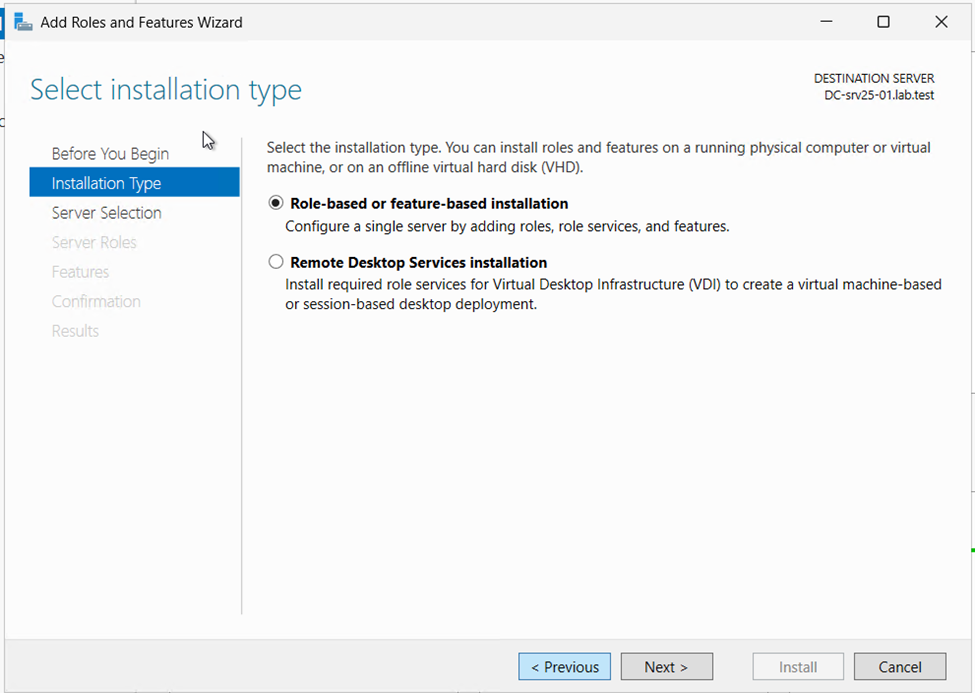
Select Role-based or feature-based installation and click Next.
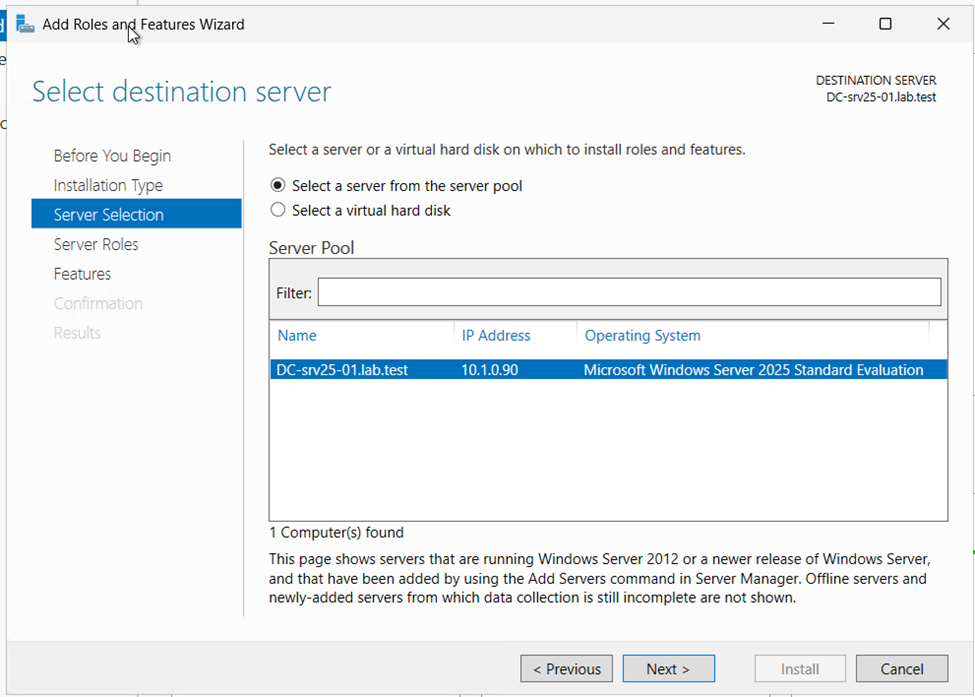
Choose the server you want to promote and click Next.
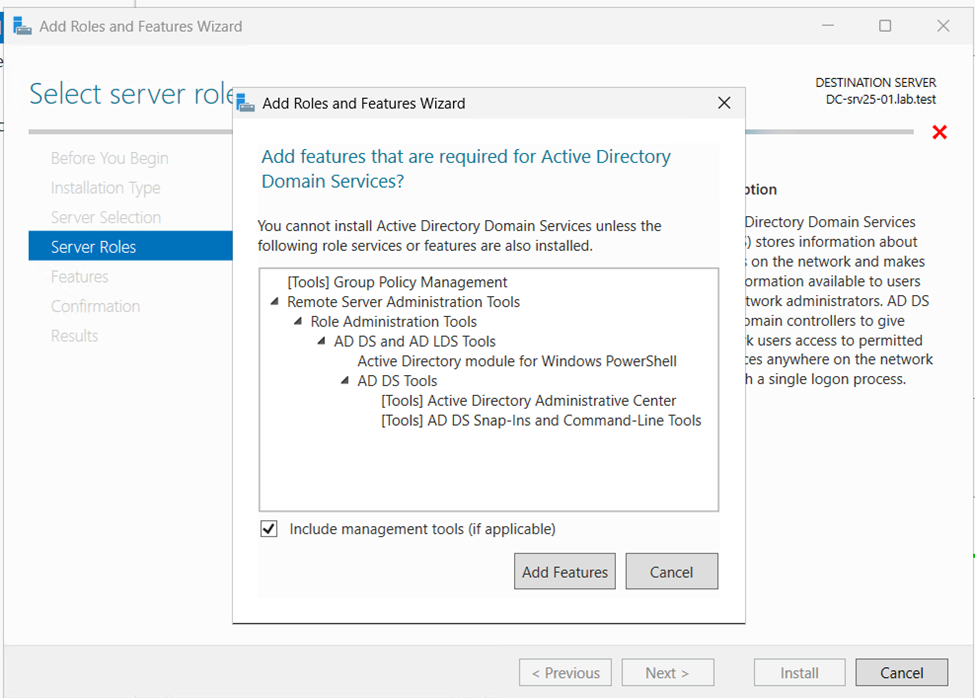
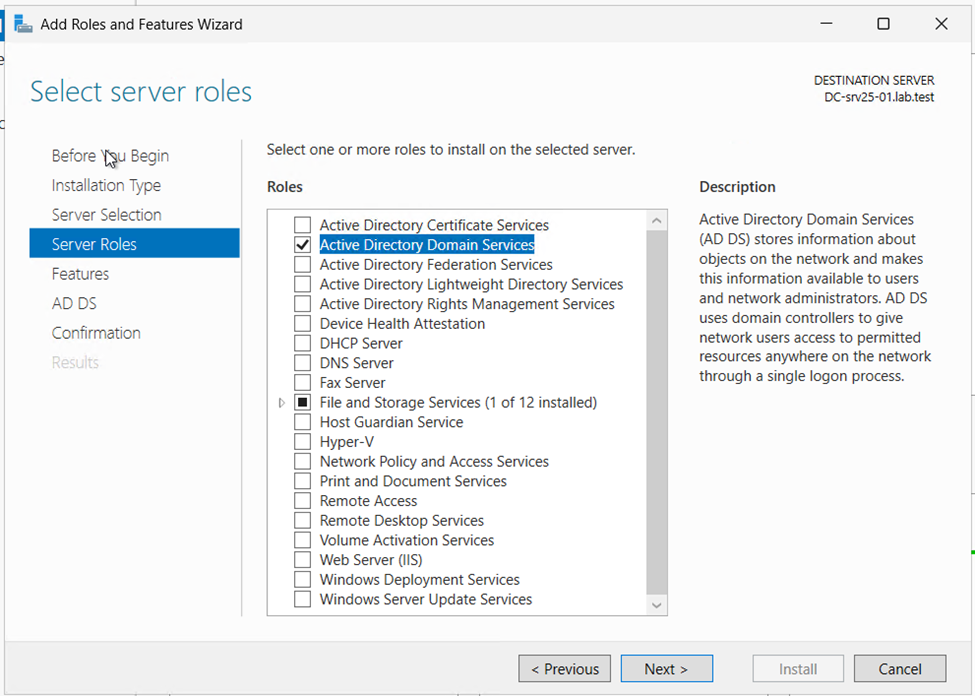
Check the box for Active Directory Domain Services.
Click Add Features when prompted, and then click Next.
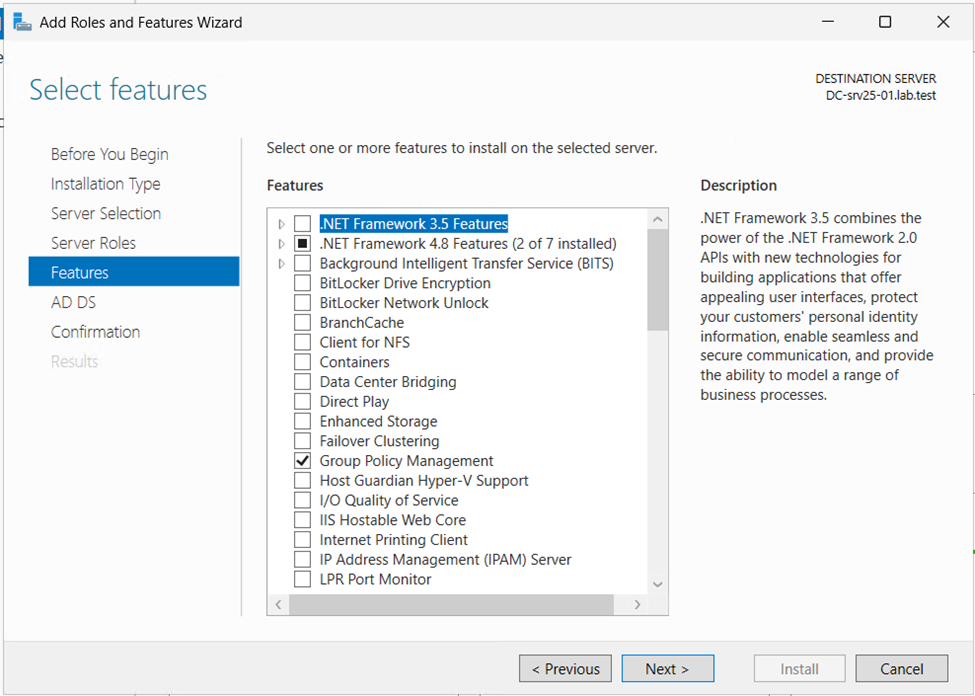
You can leave the default features selected. Click Next.
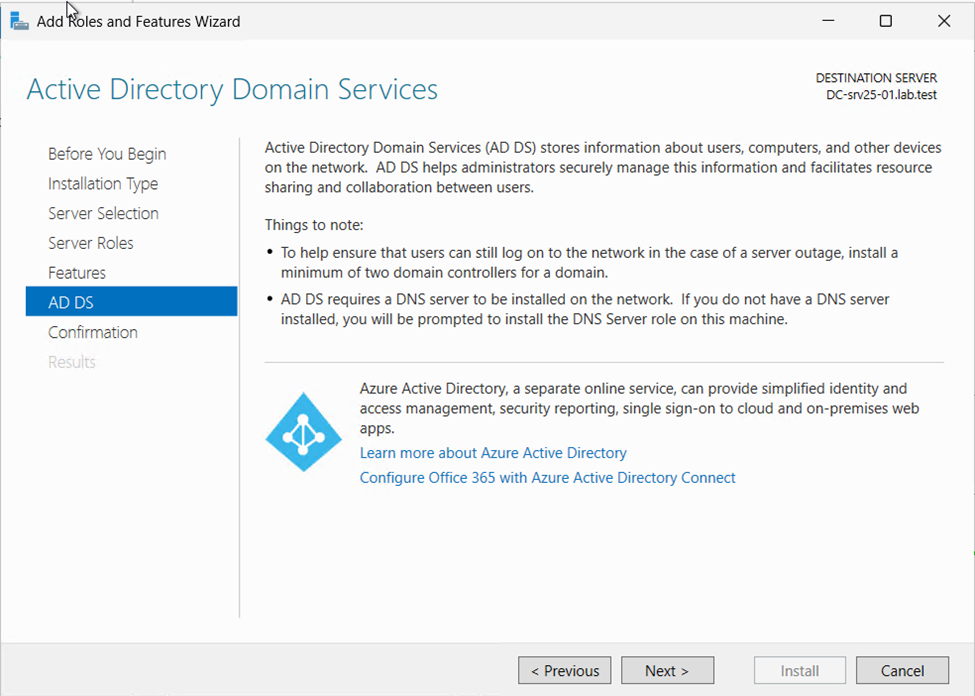
Review the information about AD DS and click Next.
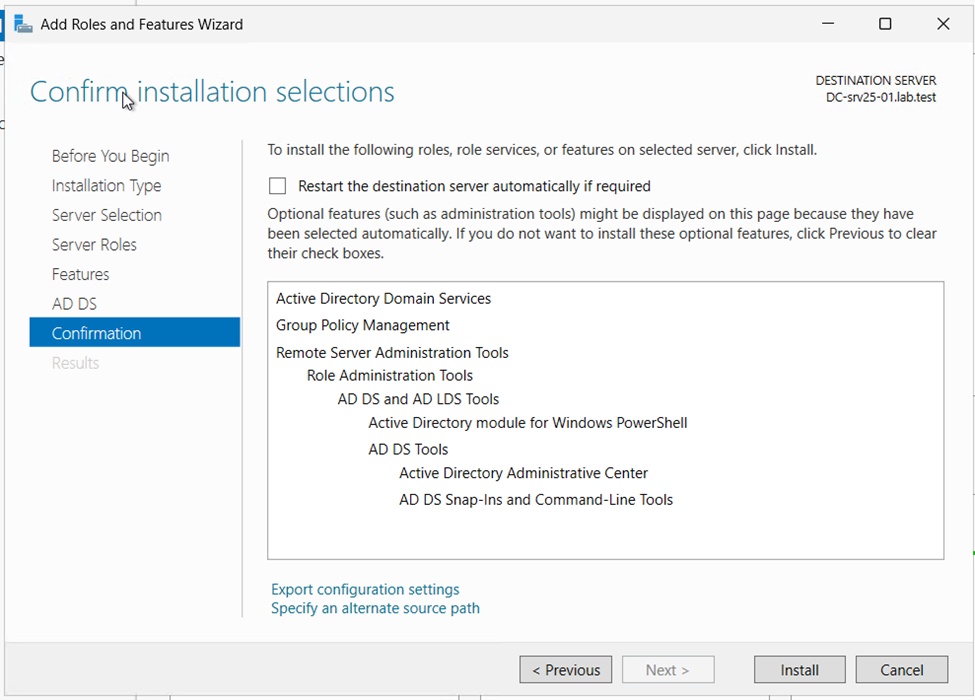
Click Install to begin the installation of the AD DS role.
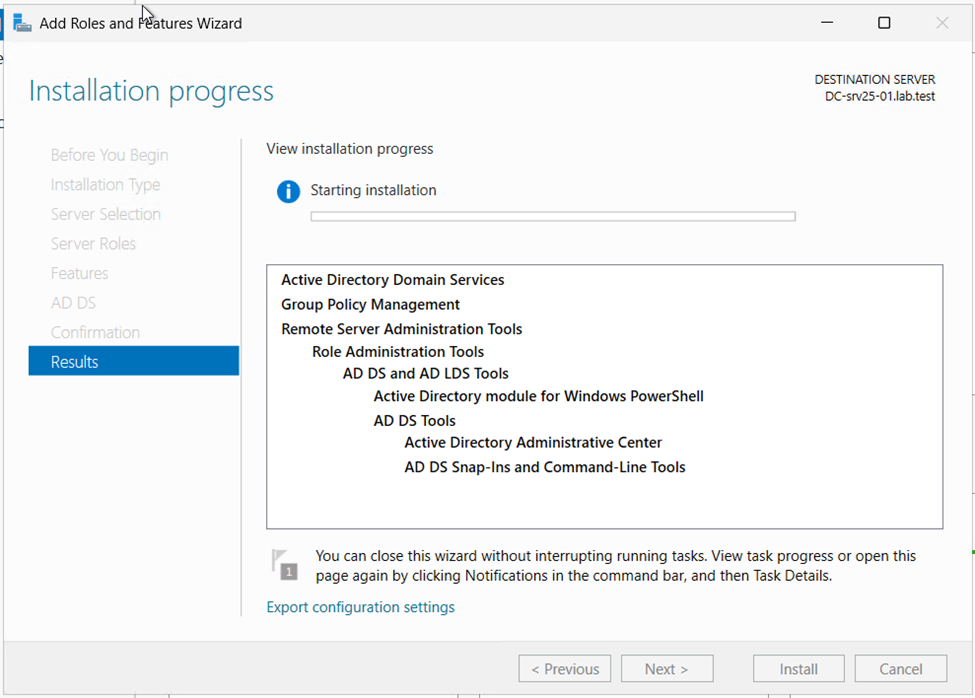

Once the AD DS role is installed, click on the Promote this server to a domain controller link in the notifications flag at the top of the Server Manager.
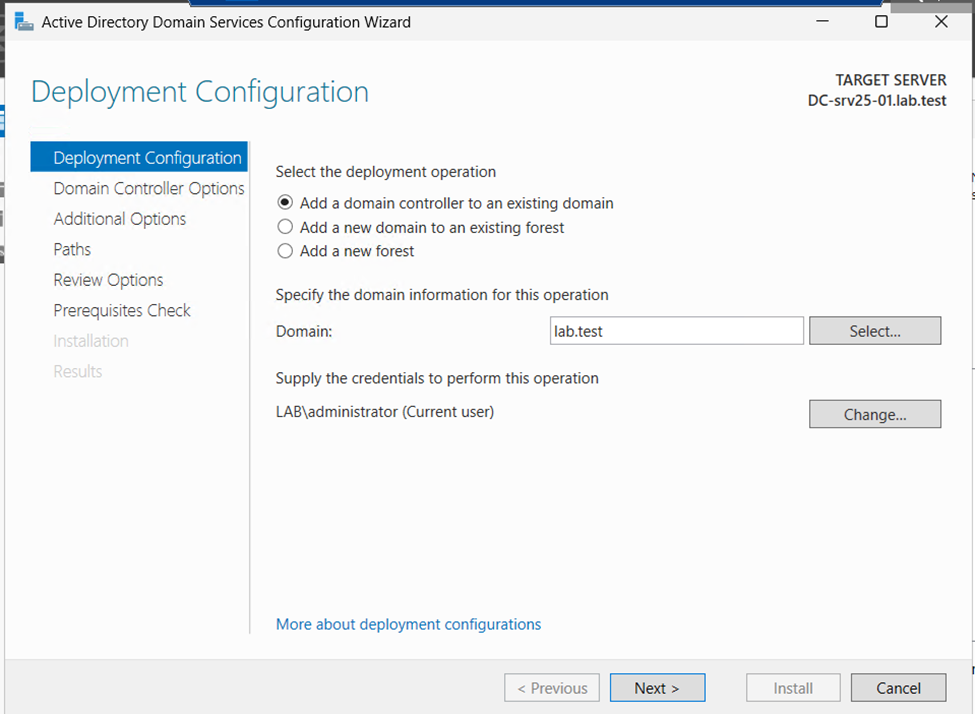
Add a new forest if this is the first domain controller in a new forest, orAdd a domain controller to an existing domain if adding to an existing domain.Provide the root domain name (e.g., example.com) if creating a new forest.
Click Next.
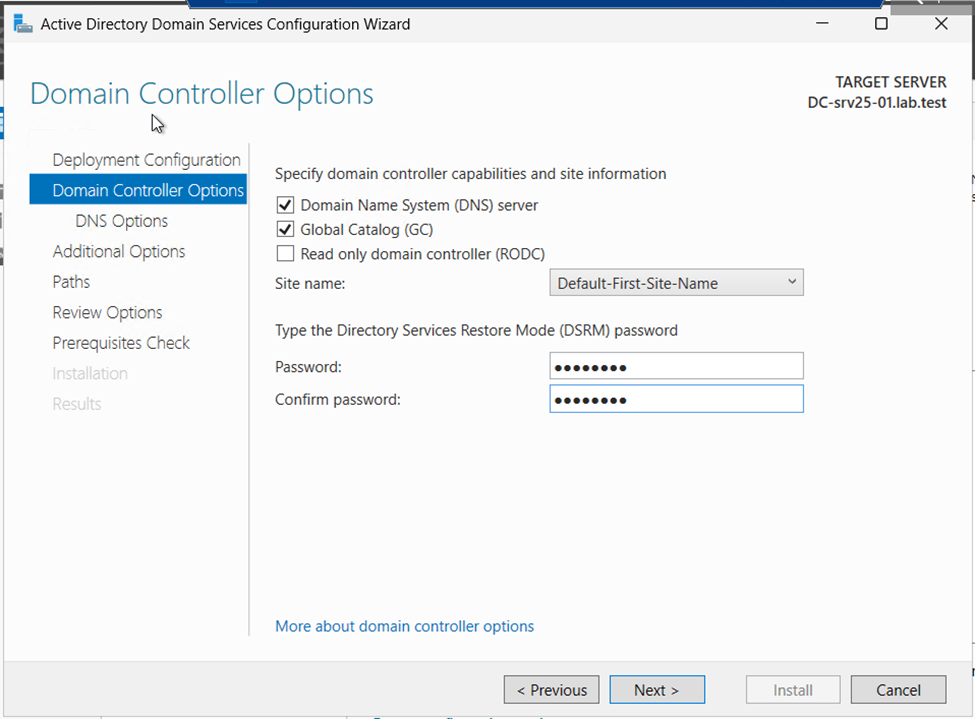
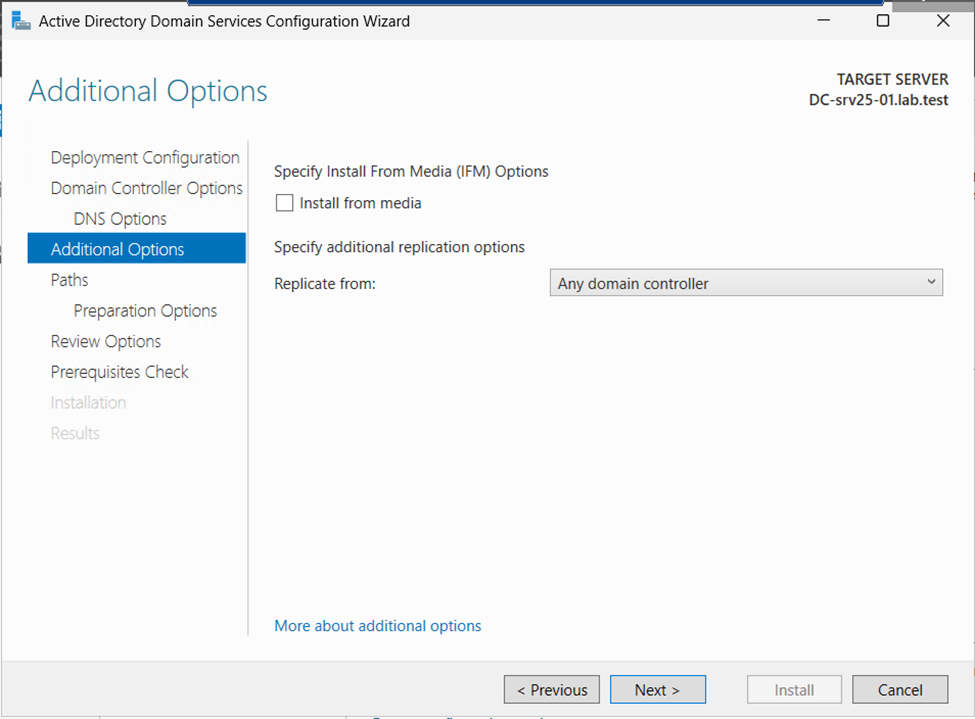
Select additional options such as Domain Name System (DNS) server and Global Catalog (GC).Set the Directory Services Restore Mode (DSRM) password. This is used for recovery purposes.Click Next.

If DNS delegation is not required, you may receive a warning. This is usually fine. Click Next.
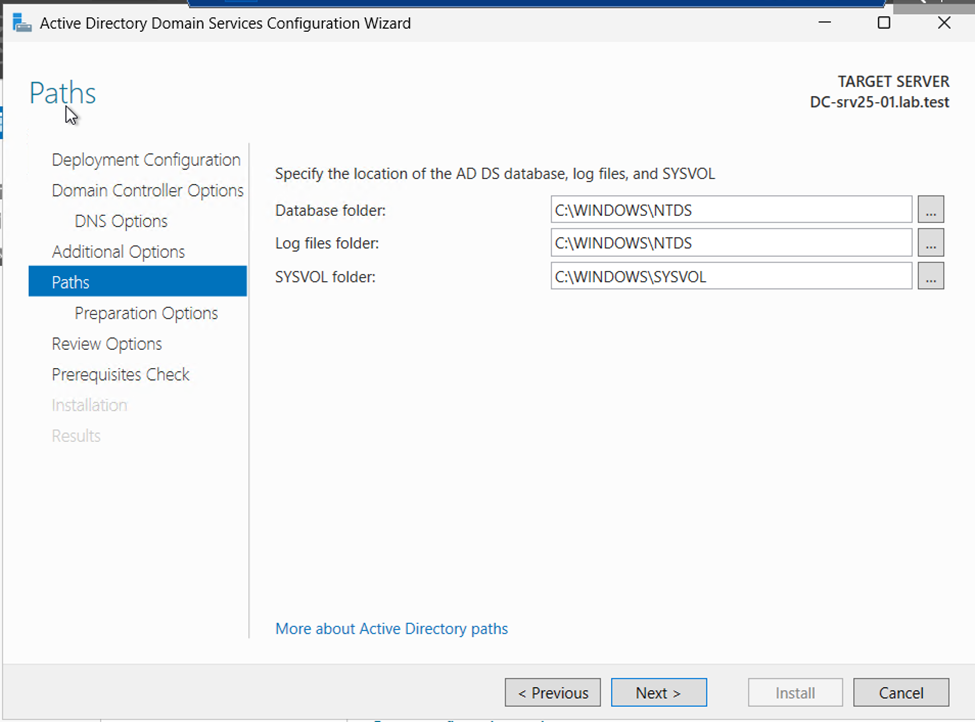
Specify the locations for the database, log files, and SYSVOL folder. You can leave the default paths or specify custom ones.Click Next.
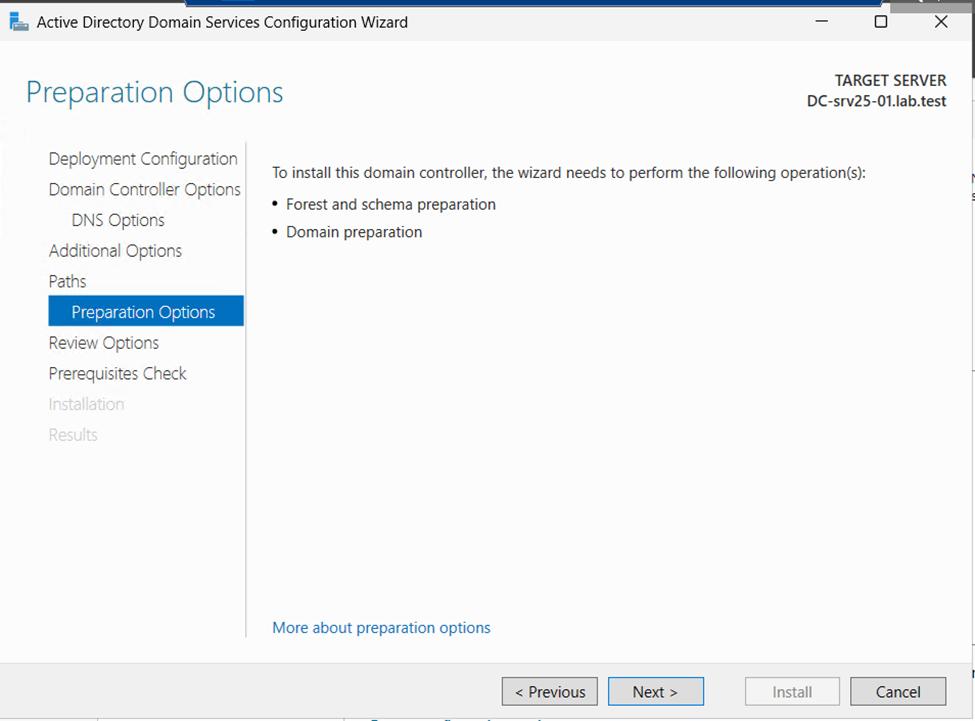
Click Next

Review the settings and click next
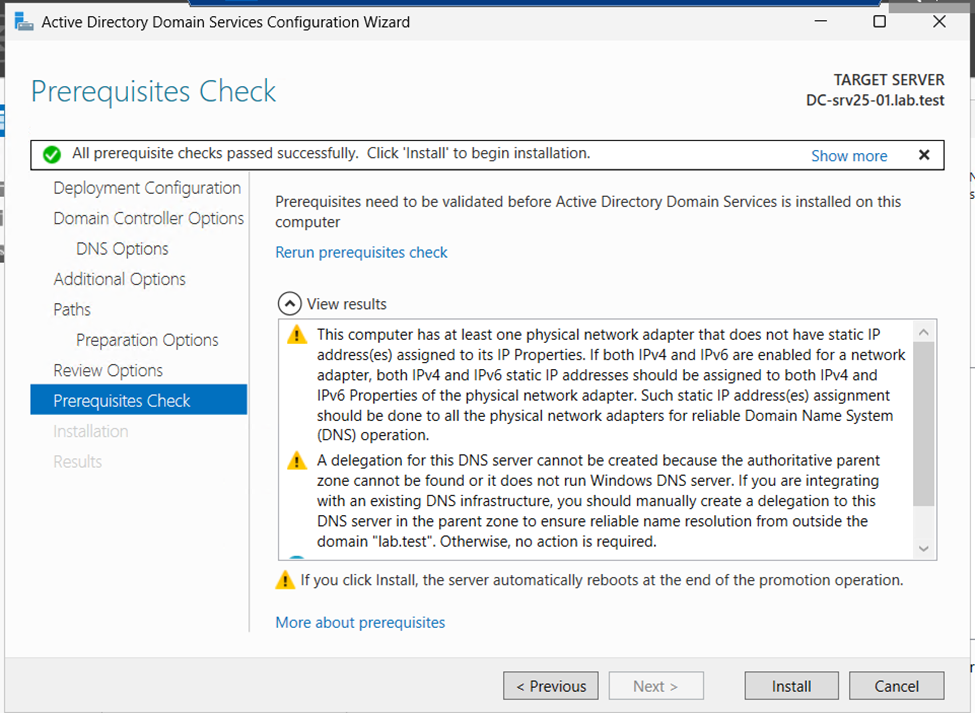
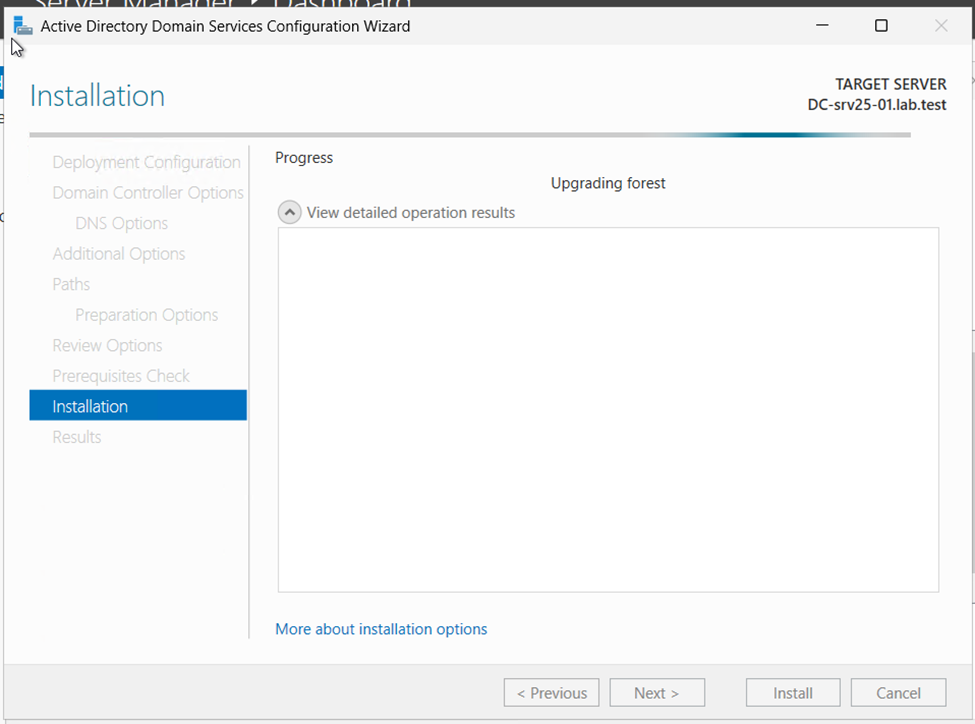
The installer will perform a prerequisites check. If there are any issues, address them before proceeding.
Click Install to proceed with the installation.
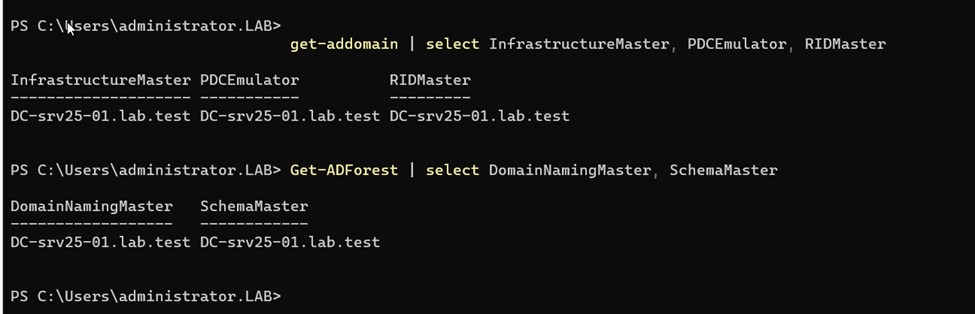
transfer FSMO roles

Verify
Windows Server 2025 introduces advanced features and robust security enhancements, ensuring improved performance and reliability for enterprise environments. Its seamless integration with cloud services and support for modern workloads make it a powerful choice for organizations. Upgrading or deploying Windows Server 2025 will provide a solid foundation for future-proof IT infrastructure.
I hope this was informative for you, please let me know your comments.
See you soon
Karim Hamdy
Infrastructure Architect
