Managing Azure Stack HCI with System Center Virtual Machine Manager (SCVMM) involves setting up SCVMM to recognize and manage your HCI cluster, allowing for comprehensive management of virtual machines, storage, and networking. Here’s a step-by-step guide:
Prerequisites
- SCVMM Installation: Ensure that you have SCVMM installed. SCVMM can be installed on a Windows Server.
- Azure Stack HCI Deployment: Ensure that your Azure Stack HCI cluster is deployed and running.
- Network Configuration: Verify that your network configuration allows communication between the SCVMM server and the Azure Stack HCI nodes.
- Credentials: Have administrative credentials ready for the HCI cluster and nodes.
The following steps shows how to manage Azure Stack HCI with SCVMM
1. Install and Configure SCVMM
- Download and install the latest version of SCVMM from the Microsoft Evaluation Center.
- Follow the installation wizard to set up SCVMM on your chosen server.
- Configure SCVMM with a SQL Server database, either locally or on a remote SQL Server instance.
2. Add Azure Stack HCI Cluster to SCVMM
- Open the SCVMM console.
- In the SCVMM console, navigate to the “Fabric” workspace.
- Right-click on “Clusters” and select “Add Hyper-V Hosts and Clusters.”
- In the Add Resource Wizard, select “Windows Server computers in a trusted Active Directory domain.”
- Enter the names of your Azure Stack HCI cluster nodes and provide the necessary administrative credentials.
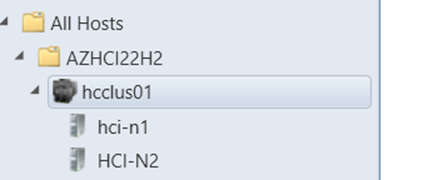
- Complete the wizard to add the HCI cluster to SCVMM.
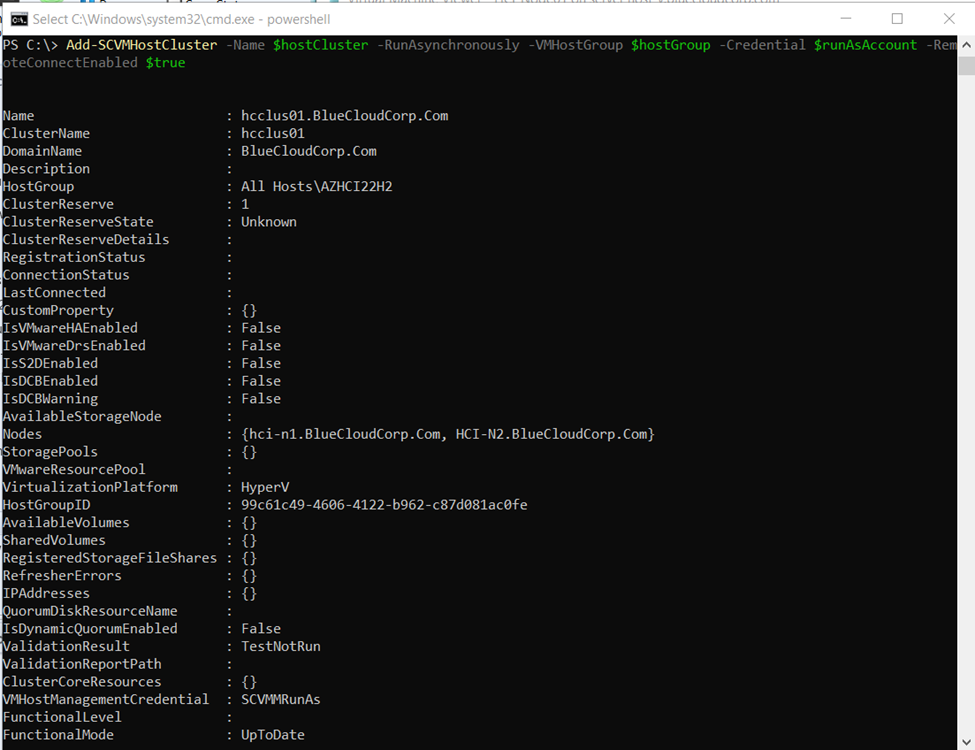
You can use PowerShell as well to add the HCI cluster to VMM as below:

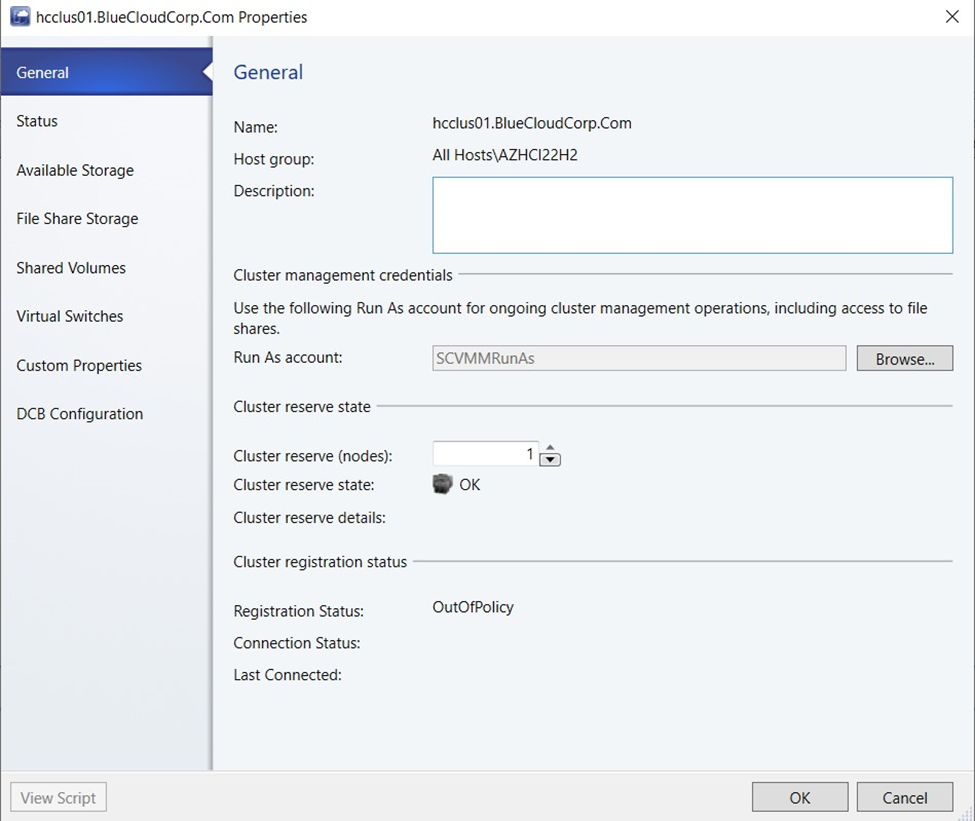
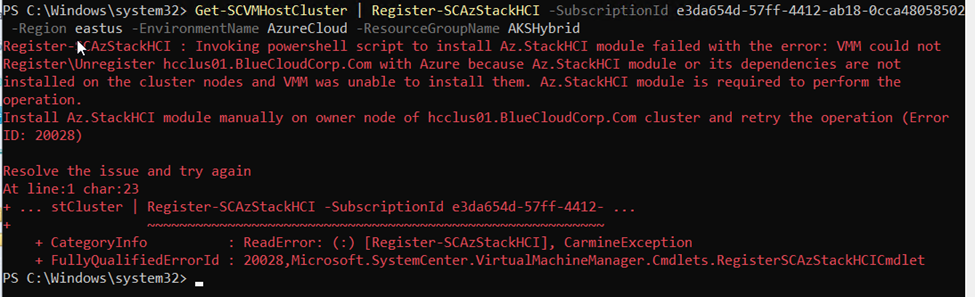
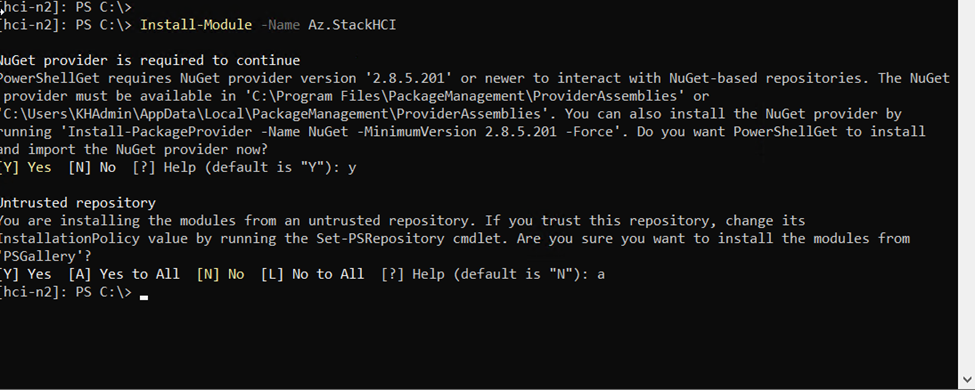
3. Configure Cluster Registration
You can register Azure Stack HCI with multiple ways, you can do it with VMM and with Windows Admin Center


To check the registration status of the Azure Stack HCI cluster in Windows Admin Center:
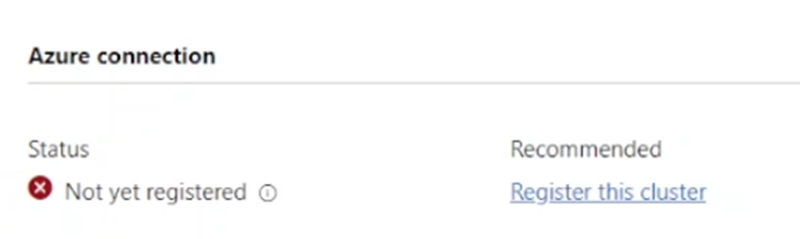
- Open Windows Admin Center and, under All connections, click the hyperlink for the newly created Azure Stack HCI cluster) to open the Dashboard for this cluster.
- On the Dashboard, under Azure connection, the status displays as “Not yet registered”.
Follow these steps to register Azure Stack HCI with Azure via Windows Admin Center:
- Make sure all the prerequisites are met.
- Launch Windows Admin center and sign in to your Azure account. Go to Settings > Account, and then select Sign in under Azure Account.
- In Windows Admin Center, select Cluster Manager from the top drop-down arrow.
- Under Cluster connections, select the cluster you want to register.
- On Dashboard, under Azure Arc, check the status of Azure Stack HCI registration and Arc-enabled servers.
- Not configured means your cluster isn’t registered.
- Connected means your cluster is registered with Azure and is successfully synced to the cloud within the last day. Skip rest of the registration steps and see Manage the cluster to manage your cluster.
- If your cluster isn’t registered, under Azure Stack HCI registration, select Register to proceed.
Note
If you didn’t register Windows Admin Center with Azure earlier, you are asked to do so now. Instead of the cluster registration wizard, you’ll see the Windows Admin Center registration wizard.
- Specify the Azure subscription ID to which you want to register the cluster. To get your Azure subscription ID, visit the Azure portal, navigate to Subscriptions, and copy/paste your ID from the list.
- Select the Azure region from the drop-down menu.
- Select one of the following options to select the Azure Stack HCI resource group:
- Select Use existing to create the Azure Stack HCI cluster and Arc for Server resources in an existing resource group.
- Select Create new to create a new resource group. Enter a name for the new resource group.

- Select Register. It takes a few minutes to complete the registration.
4. Configure Cluster Resources
- Once the cluster is added, you can configure the resources within SCVMM.
- Navigate to the “VMs and Services” workspace to view and manage virtual machines.
- Navigate to the “Fabric” workspace to manage storage and networking resources.
5. Create and Manage Virtual Machines
- In the “VMs and Services” workspace, you can create new virtual machines by right-clicking on your cluster and selecting “Create Virtual Machine.”
- Follow the wizard to specify VM settings such as name, generation, memory, CPU, and storage.
6. Storage Management
- In the “Fabric” workspace, go to “Storage” to manage storage pools and volumes.
- Create and manage storage classifications, logical units, and assign storage to hosts and clusters.
7. Networking Configuration
- In the “Fabric” workspace, go to “Networking” to configure virtual networks.
- Create logical networks, VM networks, and network sites.
- Configure network settings for Hyper-V hosts and VMs.
8. Update Management
- Use SCVMM to manage updates for your Azure Stack HCI cluster.
- Navigate to the “Fabric” workspace, and under “Servers,” select your cluster.
- Right-click and select “Update Cluster” to apply updates and patches to your HCI nodes.
9. Backup and Disaster Recovery
- Integrate SCVMM with Azure Site Recovery for disaster recovery solutions.
- Configure backup policies using Azure Backup or other backup solutions compatible with SCVMM.
Additional Tips
- Regular Monitoring: Regularly check the health and performance metrics in SCVMM to ensure your cluster is running optimally.
- Documentation and Support: Refer to the SCVMM and Azure Stack HCI documentation for detailed configuration and troubleshooting steps.
- Community and Updates: Stay engaged with the SCVMM and Azure Stack HCI communities and keep your SCVMM updated to benefit from the latest features and improvements.
By following these steps, you can effectively manage your Azure Stack HCI environment using SCVMM, enabling comprehensive control over your virtualized infrastructure.
I hope this was informative for you, please let me know your comments.
See you soon
Karim Hamdy
Infrastructure Architect

[…] You can refer to our post on Azure Stack here […]